Decorate a Papier Mache Deer Head
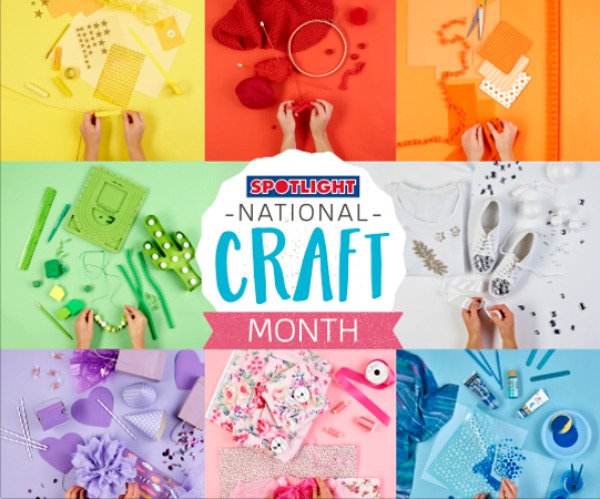
Have you ever crafted with Papier Mache? I hadn’t before, though it had always been on my craft-bucket-list. So I was very excited to be asked to be part of this crafty project for the launch of Spotlight’s National Craft Month.
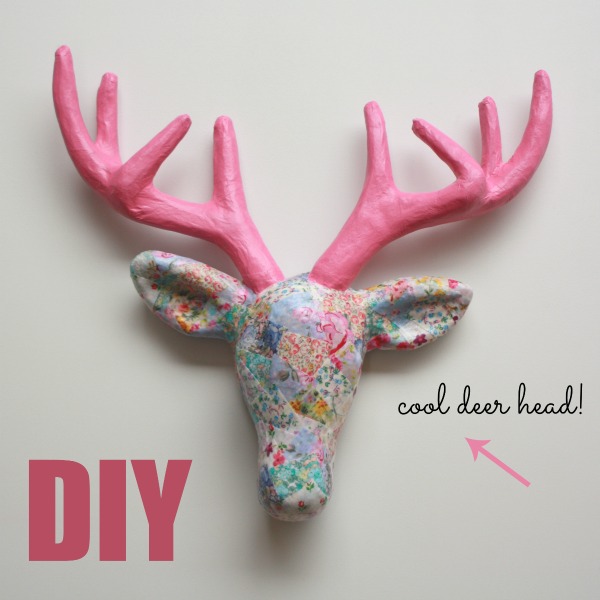
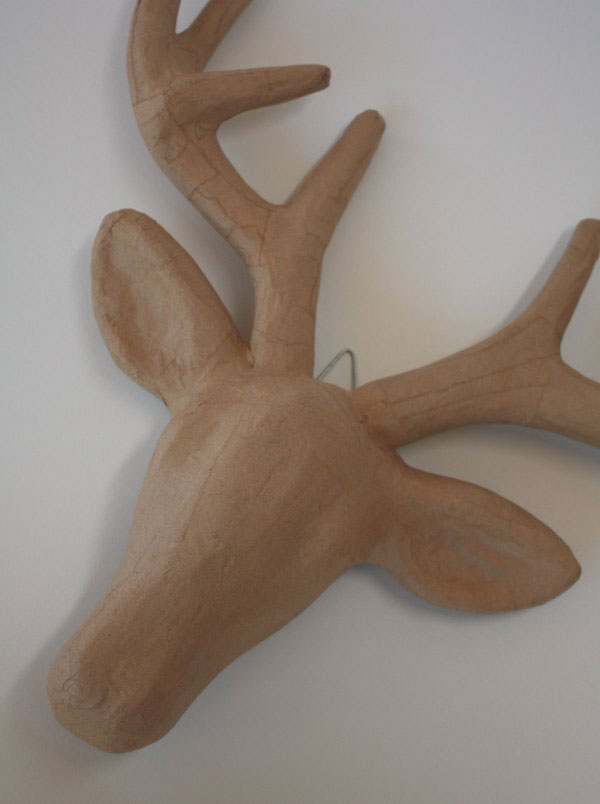
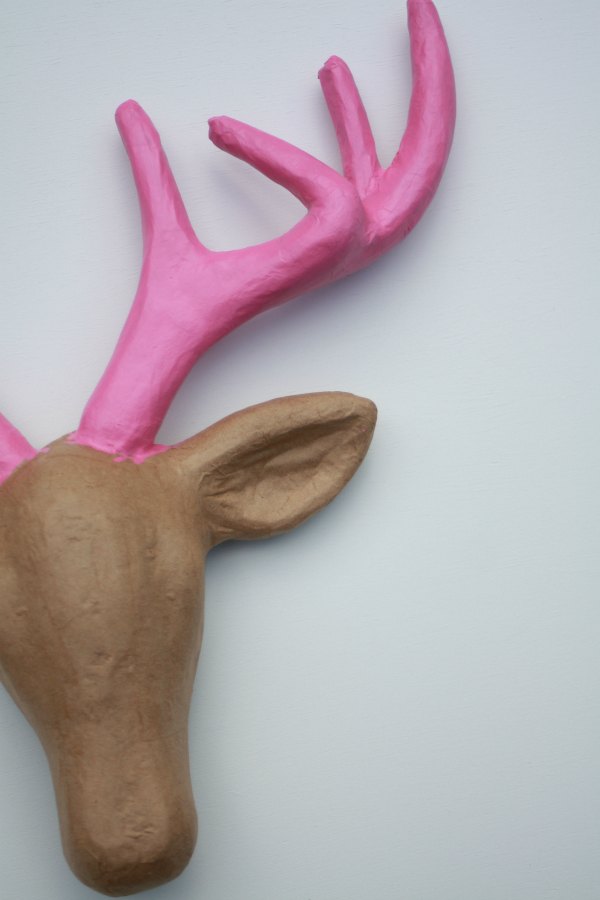
So armed with my Papier Mache Deer Head I set to work to create a cool deer head splashed with the kind of craft I love!
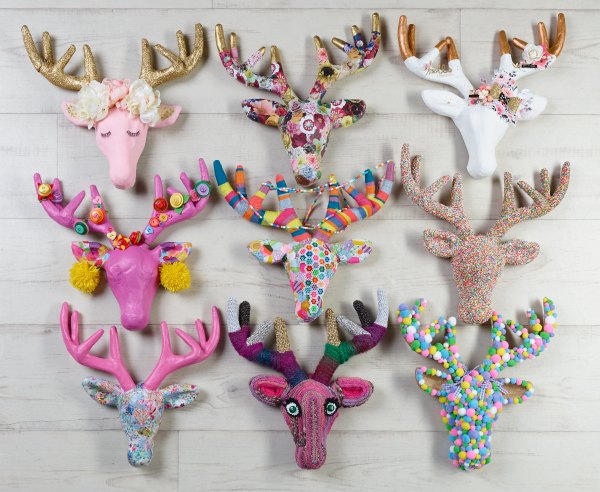
Below you will find directions for my deer head creation, but first check out the ‘Blogger Wall of Fame’. A group of Australian bloggers were challenged to decorate a deer head each using their own favourite crafting skills- how cool are all the deers, all so unique in their own way, using so many different crafty techniques.
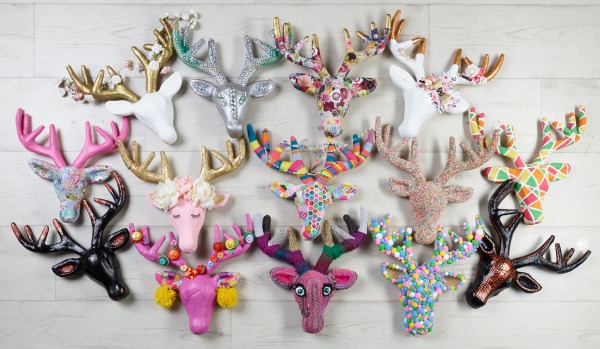
All these cool deer heads were proudly on display at the launch event for National Craft Month in Melbourne.
So let’s decorate your Deer Head –
Supplies:
- Shamrock Papier Mache Deer Head
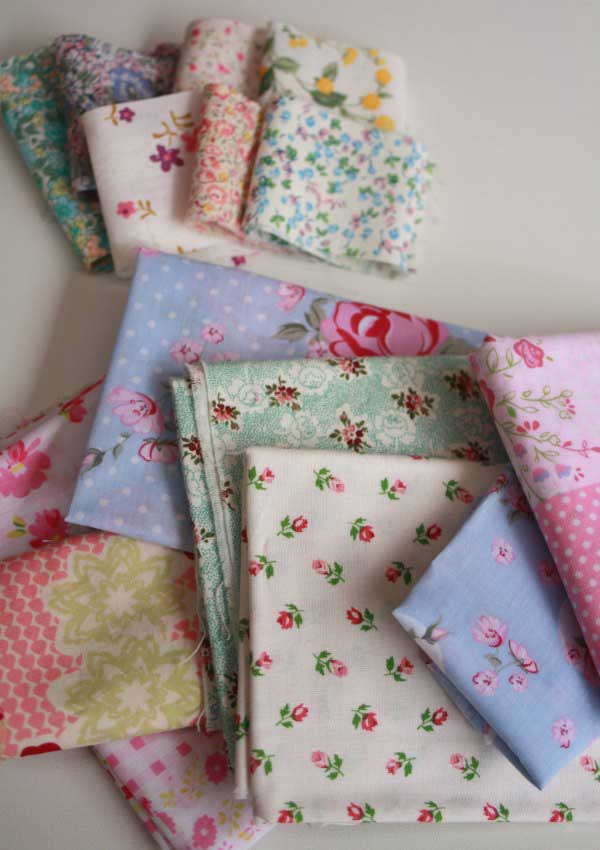
- your favourite fabrics
- scissors or roller cutter
- fabric Mod Podge
- sponge brush
- paint for antlers
Directions:
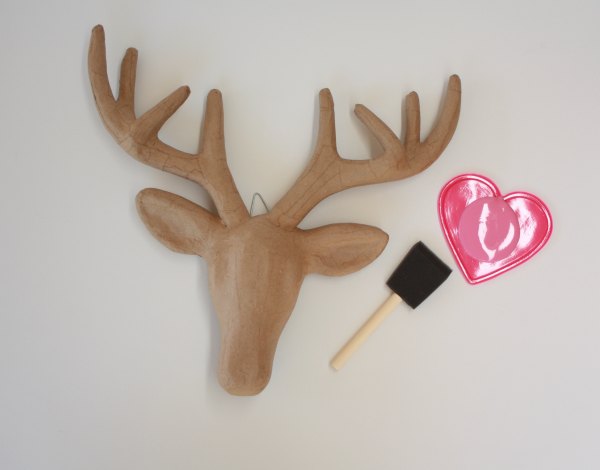
- gather your supplies together
- prepare a safe work area where it doesn’t matter if a little bit of glue or paint gets here or there. We laid down an old towel to protect our bench area.
- Paint your antlers with your chosen paint colour. We used a sponge brush to apply our paint – and did two coats.
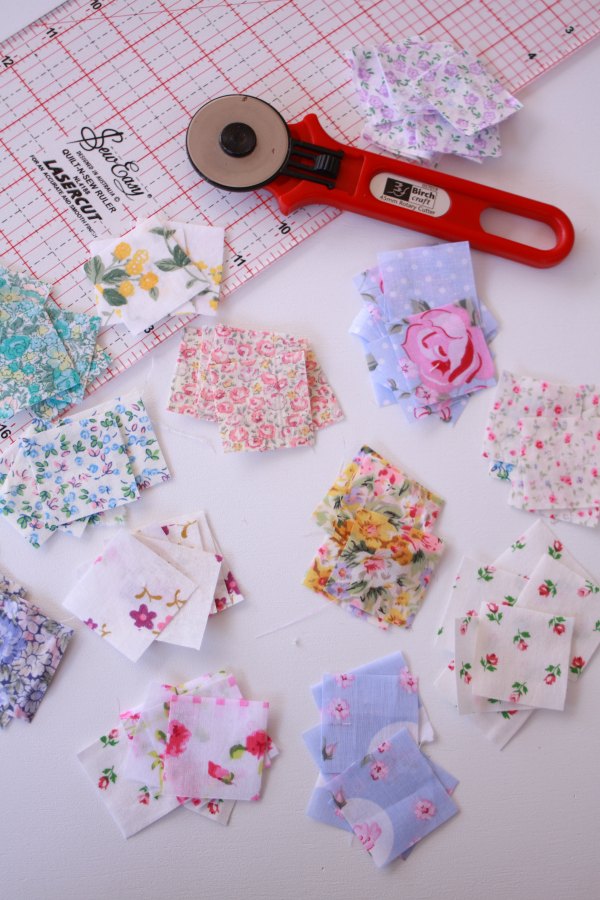
- cut your fabrics up into little squares – we cut long 4cm wide stripes then cut them into little squares. A roller cutter makes this so much easier and faster.
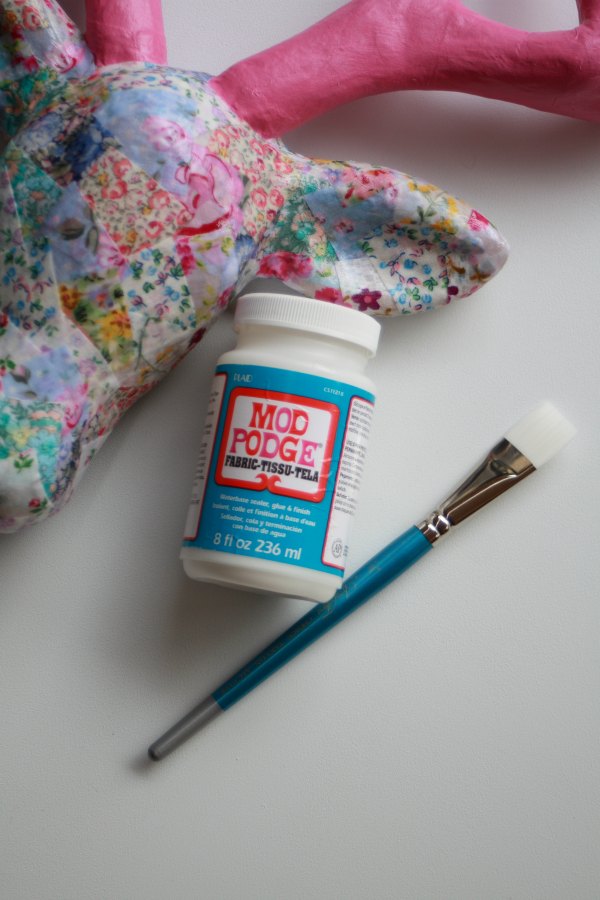
- one square at a time lay out your fabric and paint the back of it with Fabric Mod Podge. We used a sponge paintbrush. Then quickly apply to your deer head using your finger to smooth it out. It gets messy- but it’s all fun!
- Slowly apply your fabric squares, slightly over-lapping each other as you go. Keep going until you have covered the whole front and sides of the deer head.
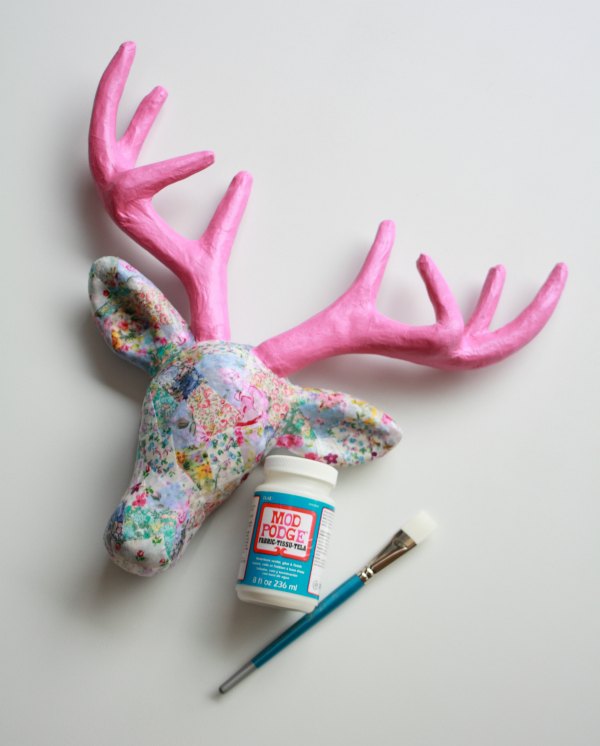
- Leave to dry for a few hours – we left it over-night. Then apply a thin coat of the ModPodge over the entire deer head (the fabric covered areas) as a sealer.
- If you find that after a day or so that your deer head still feels a little tacky to touch why not try a quick layer of varnish – either a spray or brush application. We used a liquid clear finish, acrylic medium gloss varnish.
And, that’s it! You are done! Now hang it up on the wall and stand back and admire your amazing handy work!
What fabrics did you use? Did you go with a particular colour or theme. I’d love to see – why not share your crafting story in the comments below.