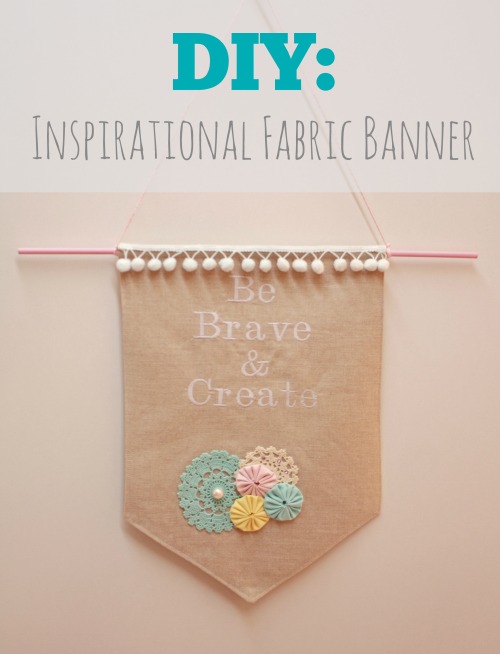

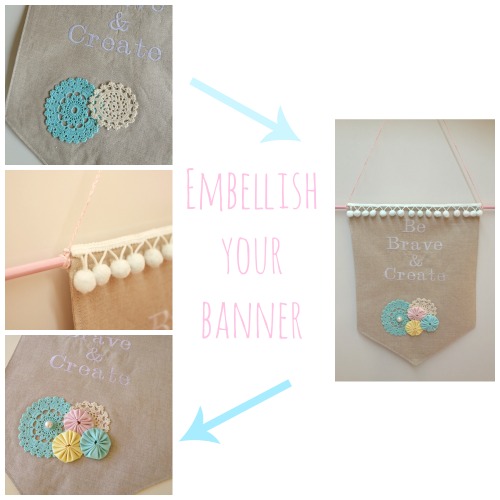
What do you think of our Inspirational Banner? We loved making this tutorial. A perfect little crafty project to add inspiration to your sewing room, your study or creative space or as the perfect handmade present for Mother’s Day or a special birthday.
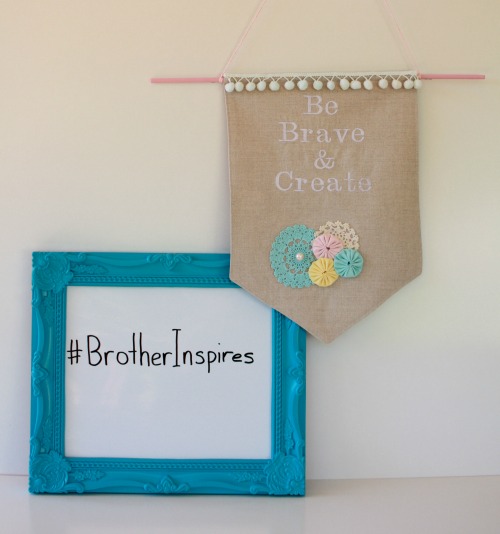
We are very excited to be part of the Brother Australia #BrotherInspires campaign this Mothers Day. Pop over to their website to see our full Banner tutorial plus loads of other fabulous crafty projects all ready to inspire you this Mother’s Day. Click here for a direct link to the projects page.
Ok, so let’s make an Inspirational Fabric Banner!
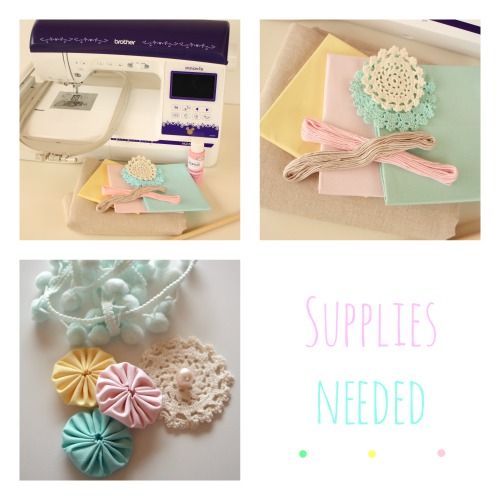
Supplies needed:
- Fabric for Banner (we used a lovely Linen)
- Embroidery thread
- Embroidery stabiliser
- Wooden dowel
- Pom Pom Trim
- Twine, Embroidery floss or thin cotton rope to hang banner
- Optional embellishments: buttons, beads, doily, fabric yo-yos, lace, ribbon etc
- Brother Embroidery machine
- Cutting Mat
- Scissors and Roller Cutter
- Pins
- Hot Glue Gun
- Acrylic Paint and foam brush
Preparation:
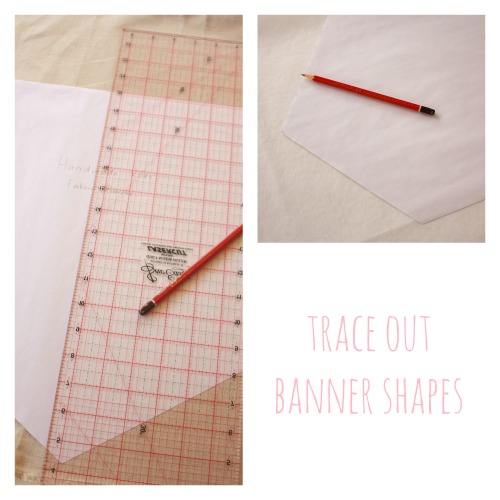
- Create your Banner template. To create the template shape we drew a 30cm x 30cm square. From the bottom middle of the square we measured down 10cm; from this point we connected lines up to the bottom corners of the square to create our banner shape.
- You can use cardboard, paper, baking paper, or clear plastic to make your template.
- Lay template onto your chosen fabric and trace and cut out 2 banner shapes
- Attach Embroidery stabiliser onto the back of one of these fabric shapes. We used an iron-on stabiliser
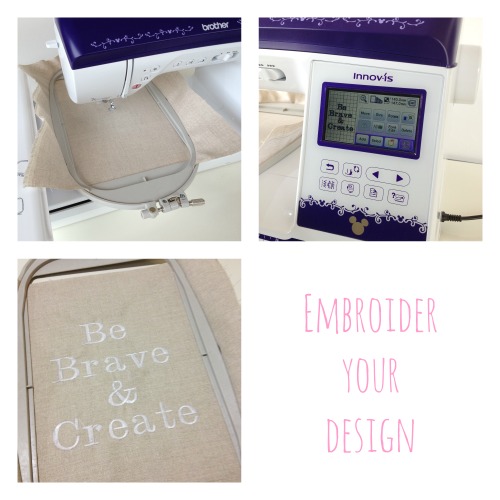
Embroidering your Design:
- Attach your fabric to the embroidery hoop. Follow machine instructions to get a nice secure attachment
- Decide on the inspiration word or phrase you are going to create. Follow machine instructions to set the font, size and placement for your word/s. We used font Serif 01
- Follow the instructions on your embroidery machine to embroider your design. Aim to have the design in the middle of the fabric piece so we have space to add embellishments and to sew and attach the back banner fabric piece.
Creating your Banner:
- Iron flat your embroidered fabric banner. We used a lovely linen fabric, which looks amazing however creases very easily.
- Now is the time to attach any embellishments that require sewing before we attach the back banner fabric. Other embellishments that can be glued-on can be done in a later step
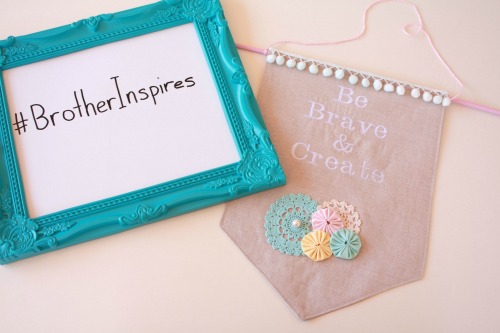
- You might like to sew on a doily, or a fabric appliqué shape. Attach buttons or beads, lace or trim. We used a combination of fabric yo-yos, and a small cotton doily.
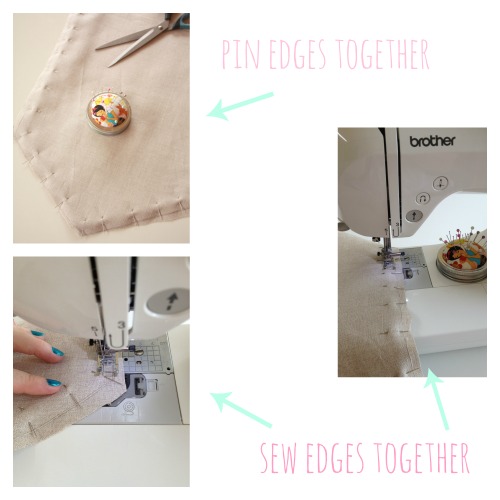
- Place the right/front fabric sides together, even up the edges and pin together to create one piece of fabric ready to sew up the edges. Leave the top edge of the banner open
- Leaving a 1cm seam allowance, sew a straight stitch around the banner leaving the top straight edge open.
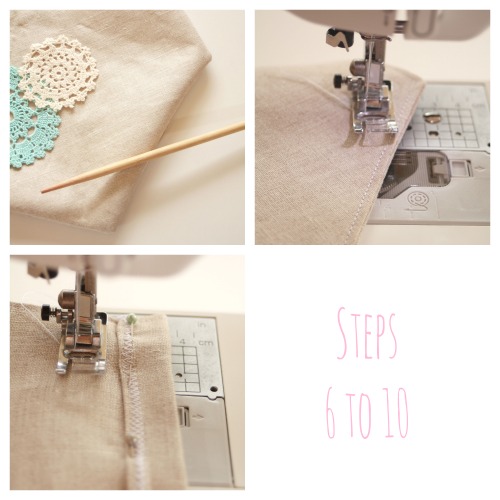
- Turn the banner back out the right way. Using a soft blunt tool, like a knitting needle or even a chop stick can help pop out the end and edges of the banner.
- Iron banner flat
- Optional- you may now like to sew a straight stitch or decorative stitch around the edge of the banner. We used a straight stitch 0.5cm from the edge of the banner
- Neaten off top edge of banner either with a zig-zag stitch or overlocker. We need to fold over the top edge and create a little fold-over tube to slide in the dowel for hanging. We used a 5mm piece of wooden dowel. The size of the fold over will depend on your dowel thickness
- Pin down the top fold and sew straight-stitch very close to edge, making sure there is still room to slide in your dowel.
- Optional- you might like to paint your dowel piece. We used Pastel Pink Acrylic paint. Leave aside to dry
Decorating your Banner:
- Now you can add any additional embellishments that dont require sewing.
- Using a hot-glue gun we attached a pompom trim along the top edge of the banner. We also glued on a large pearl bead and ironed on some hot-fix crystals
- This step is all up to you. You can be as creative as you like- add as many or as little embellishments as you please, follow a colour scheme or a particular style.
- Slide in your dowel. Our finished piece measured 48cm long
- Attach a piece of twine, thin rope, cotton or embroidery floss to create a loop to hang your banner. We plated 3 pieces of pink Embroidery Floss together to create our loop.
- Now hang up on the wall, step back and admire your handy work! Well done!
Now it’s your turn! What Inspirational word or phrase will you use?
We would love to see your creations and ideas, feel free to share below.