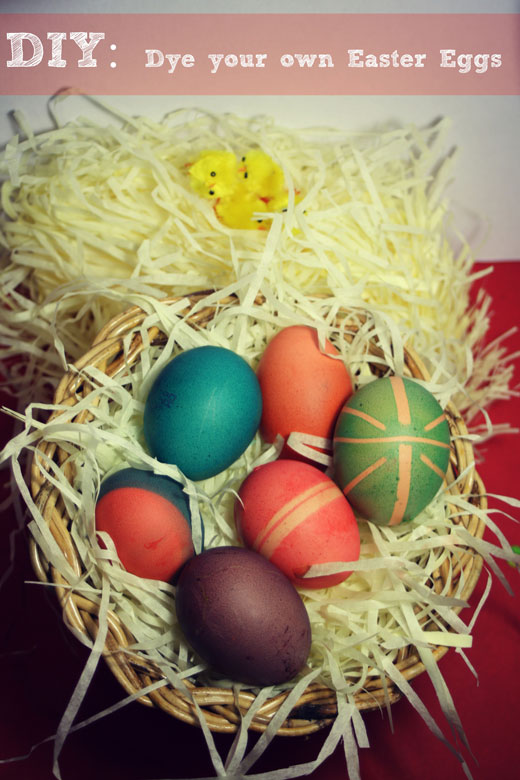
Here’s a fun craft to do with the kids this Easter. Dye your own Easter Eggs.
Taking inspiration from the ever crafty Martha Stewart’s handmade Holiday Crafts ‘bible’ and with the help of my little Miss 4 we created these fun & colourful eggs.
Supplies you will need:
- eggs
- jar or bowl deep enough to submerge your egg
- vinegar
- liquid food colouring
- hot water
- kitchen tongs
- elastic bands, sticker shapes to make patterns
- aspirator
- paperclip, craft knife or similar
- piece of foam
- sewing pins
How to create your eggs:
Step 1: Emptying out your raw egg.
Piece a hole in both ends of the egg. You can use the end of a sharp knife (craft knife) or the end of a paperclip folded out. Poke the straightened paperclip into the egg to stir up the yolk inside (if the yolk is left whole when blowing out the raw egg it can push out and crack the bottom of the egg shell).
Place the egg over a bowl and use the aspirator to blow out the raw egg. Rinse the egg shells and set aside to dry.
Step 2: Dyeing your eggs.
Set up a work space covered with an old towel or similar to protect your bench from the dye.
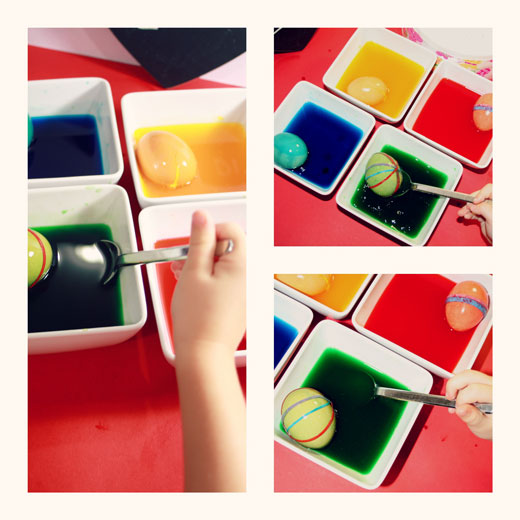
Fill small bowls or jars with your different coloured dye mixes.
To make the dye mix stir together 1 teaspoon of vinegar, 1 cup of hot water and 20 drops of liquid food colouring (or more if darker colours desired).
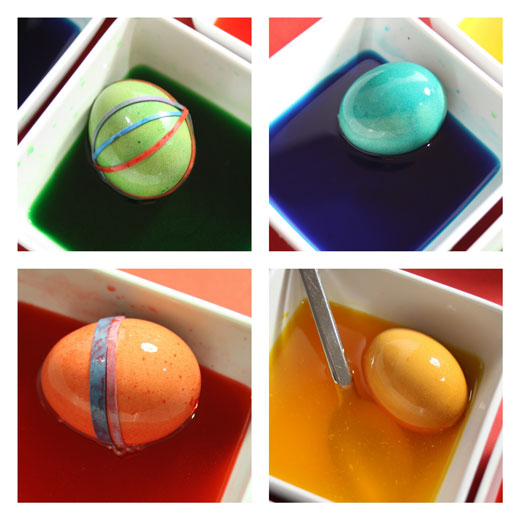
Using tongs submerge your eggs for different lengths of time for different intensities of colour.
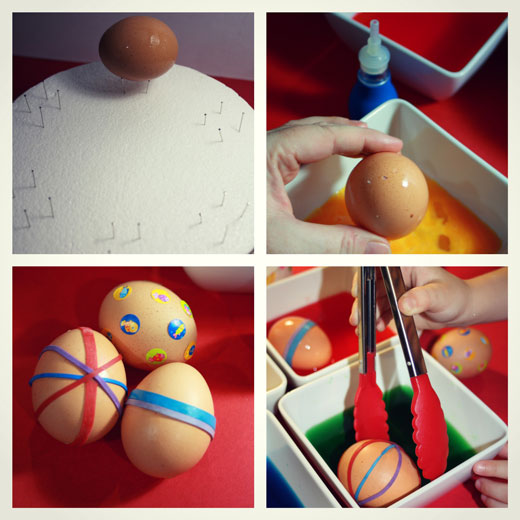
To make patterns try tying elastic bands around the eggs, or small circle stickers on the shells and remove after the dying process. This will create pretty shapes and patterns once removed and dry.
Step 3: Drying your eggs.
To make the drying process easier and to help the eggs dry evenly create a pin-board drying platform. We used an old foam shape that we had in the craft room. Stick sewing pins into the top of the foam clustered together so the dyed eggs can sit on top and dry.
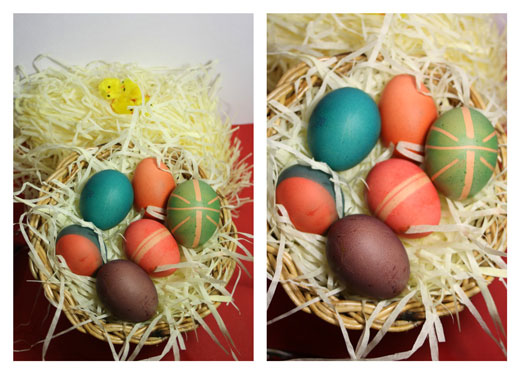
What do you think? You can make lots of different shades of colour, patterns and shapes. Why not try dunking half the egg in one colour and the other side in a different colour. You can use stickers, elastic bands, masking tape, crayons or wax to create patterns on your eggs.
Happy creating!

