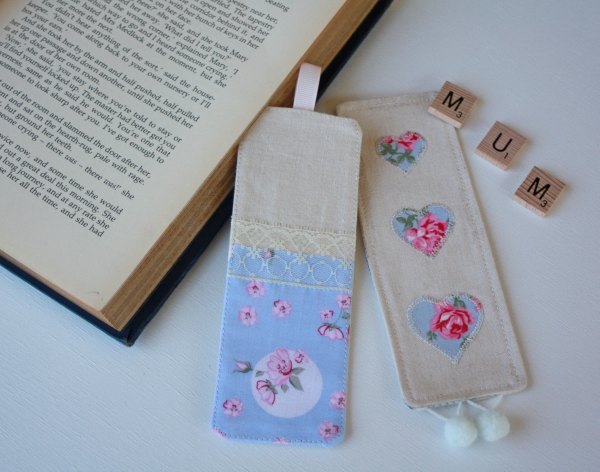
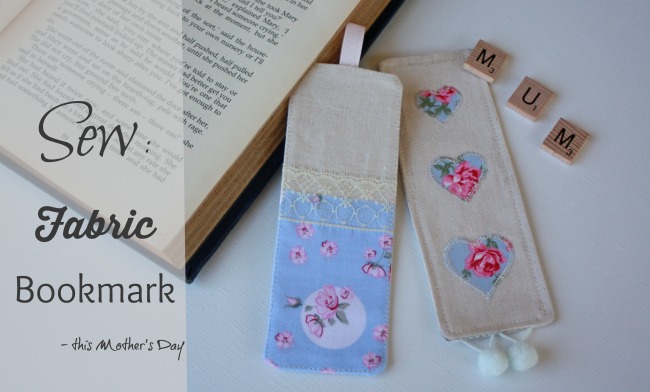
Sew a Fabric Bookmark this Mothers Day
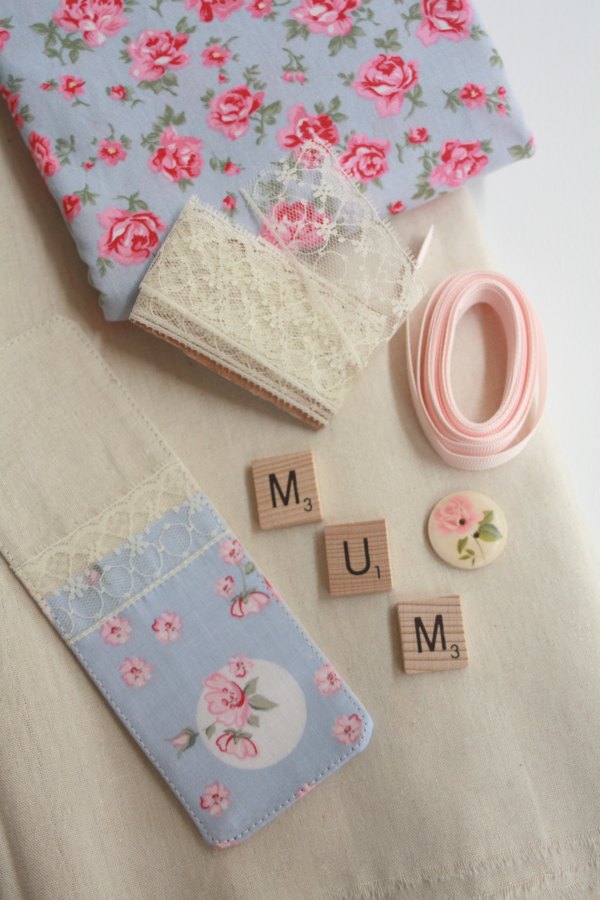
This Mothers Day why not make your Mum an extra special gift – one that is handmade by you! My Mum loves to read so I know that she will love this gift and appreciate the handmade sentiment that goes with it.
What I love about this little sewing project is that it is so easy to change it up and add your special style to it. Use your favourite craft or your Mum’s favourite to add an extra special touch. We used a combination of sewing with fabric, lace and appliqué. But you could use embroidery, cross-stitch, screen-printing, hand-sewing, add crochet, buttons or felt. It’s an all round crafty project.
I created this project for the Brother Australia #BrotherMakesMemories Competition – be inspired and create this Mother’s Day for the chance to WIN some amazing crafty prizes! More details here & here.
So let’s get into it- let’s make a Fabric Bookmark-
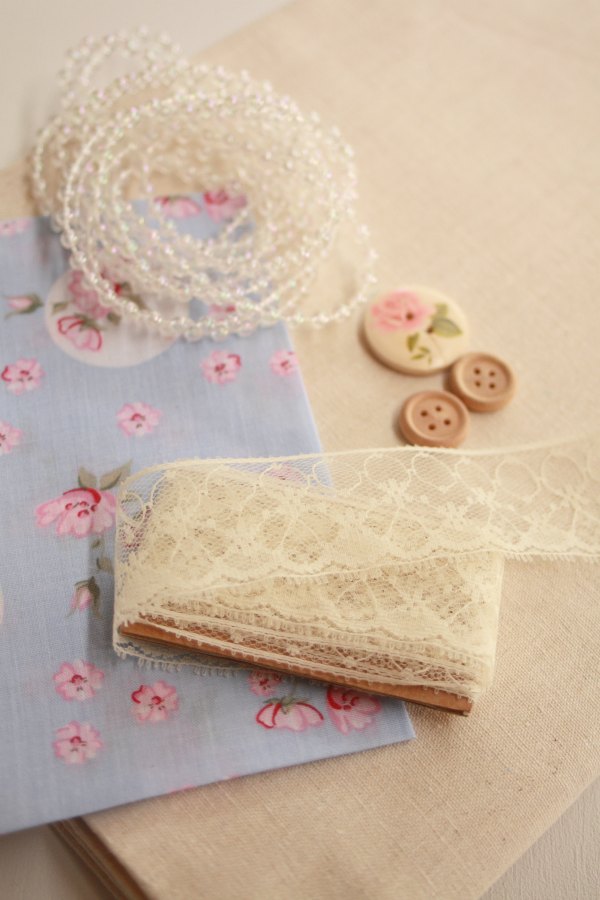
Supplies & Tools:
- Sewing machine
- Iron
- Scissors / roller cutter
- Ruler
- Pins
- Pencil / pen
- Fabrics for bookmark- we used a calico and floral cotton quilting fabric
- Fabrics for appliqué shapes
- Heat n bond (for appliqué shapes)
- matching threads
- Embellishments for your bookmark- i.e. lace, buttons, beads, ribbon, pom-pom trim
Directions:
- for a full PDF copy of our Tutorial head over to the Brother Australia Projects page where you will find ours and lots of other great crafty tutorials.
STEP 1: Iron your fabric to remove any creases. Measure out two rectangles – 10cm x 20cm on your fabric. These will become the front and back of your bookmark. Cut out the rectangles, iron flat and put one piece aside.
STEP 2: Using an eraseable pen/pencil draw out another rectangle 6cm x 16cm into the middle of one of the bookmark panels; this will become the front face of the bookmark and a template area for you to create your special bookmark design.
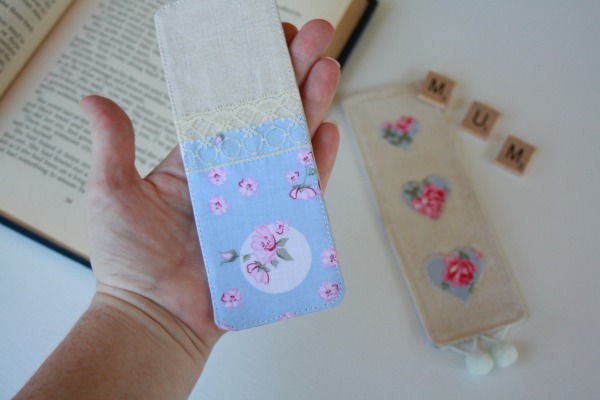
STEP 3: Next, create your appliqué shapes. We used three different sized hearts. Trace the heart shapes onto your Heat N Bond and cut out close to the edge of the shapes. Iron these cut outs onto the back of the fabric you are going to use for your appliqué. Now cut out these fabric shapes neatly and line them up on the front bookmark panel to see how you would like to position them. Remove the backing paper and iron them securely into place. Now you can sew on your appliqué shapes – using either a straight stitch or small zigzag.
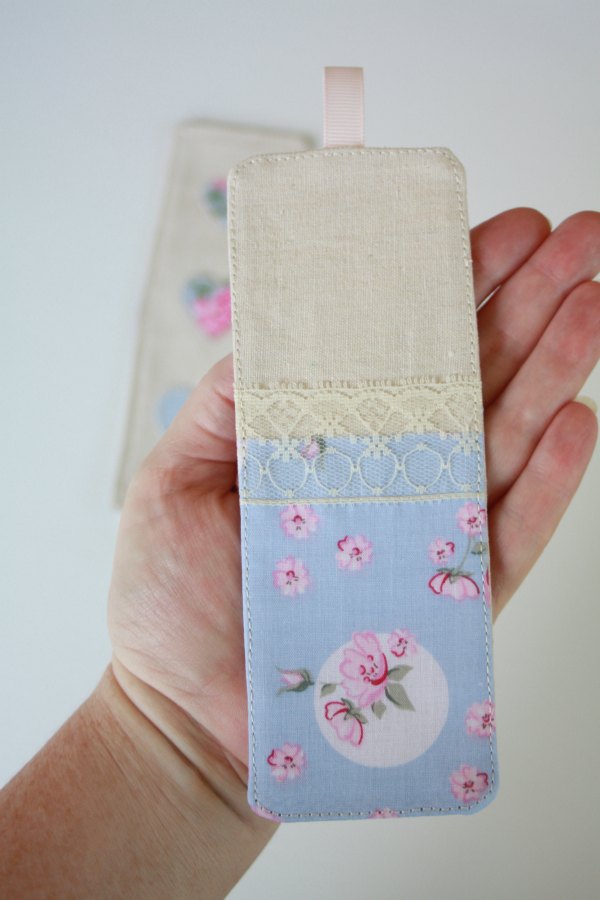
If you are planning on adding any other embellishments or design, now is the time to add these. Perhaps you’d like to add some lace or ribbon, sew on some small buttons or other cabochons. Or add a tassel or ribbon that can hang out from the top or bottom of the bookmark?
STEP 4: Now it’s time to attach our panels together. Face the front side of each panel together (so they are inside facing each other). Pin around the edges to hold the pieces together. Depending on what fabric you used you might still be able to see the outline of the 6x16cm rectangle to sew around. We used a calico that allowed us to still see a faint outline, making it easy to sew an even edge. Now straight stitch around the inner rectangle outline, leaving a 4cm gap on one of the long sides. Through this gap we will reach inside and carefully turn the bookmark inside out. Carefully push out each corner- we use the end of a wooden chopstick for this. Now you can iron out the bookmark again, flattening out the corners and edges as you go.

STEP 5: Almost finished. Run another quick straight stitch all the way around the bookmark, close to the edge. This will close up and secure the gap left from turning the bookmark inside out.
WANT MORE? Pop over to our DIY / Tutorials page to find more crafty inspiration.