
What a fantastic tutorial we have lined up for you today from Mini Mayhem. This is definitely one for the to-do list, asap!
————————————————-
Got a great design idea for a t-shirt for your little person but don’t have a professional screen printing set-up at home? I’m going to show you how to make your own one of a kind t-shirt design using an item you probably already have laying around the house.
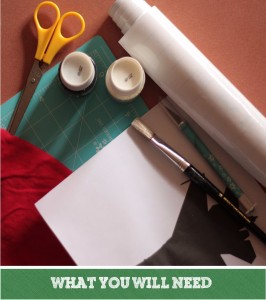
- blank t-shirt (or whatever else you want to print onto)
- contact paper (the stuff you use for covering school books “ clear or patterned, it doesn’t matter)
- craft knife and cutting board
- fabric paint (available from craft stores)
- paintbrush or sponge
- pen
- your design (simple shapes work best “ an intricate design get a bit tricky)
- scissors
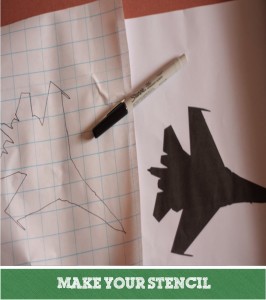
Cut yourself a manageable sized piece of contact paper to transfer your image onto. Leave yourself at least a good couple of centimetres more than your design to make sure you don’t get paint onto your shirt.
Now you need to get your image onto that contact paper. You can draw freehand if you fancy but I find the easiest way is to trace it. Hold the design and contact paper up on a window on a nice sunny day and use a black pen to trace around the outline.
Think about the way your image will look on the shirt. Your design, especially when you are using lettering, will need to be reversed onto the contact paper so it comes out the right way on the shirt. Just remember the sticky side will be going onto the t-shirt, so if you are drawing onto the papery side it will need to be reversed.
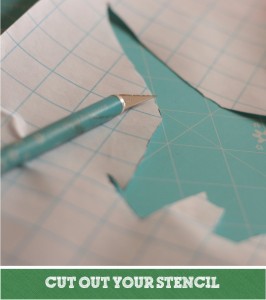
Grab your craft knife and carefully start cutting out your stencil. The design I have used here is very simple and doesn’t have any small pieces to cut out. But if your design has little details to cut out make sure you keep them somewhere safe until it is time to stick them onto your shirt.
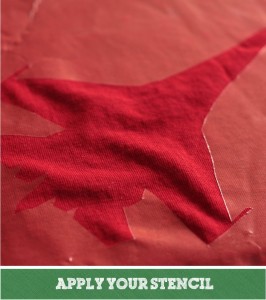
Once you have finished cutting out your stencil you are ready to stick it to your shirt. Before you peel the paper off the back think about where the stencil needs to go on the shirt so that your design ends up in the right place. A good rule of thumb (no pun intended) is that the design should start at a distance of around the width of your four fingers from the neckline. Make sure it is centred across the front as well.
Now you’re ready to peel off the backing. This bit can be a bit tricky in the same way as it is when covering books. It is a matter of personal preference as to whether you only peel off a bit and stick that down or whether you dive straight in and peel the lot off. I like a bit of danger so I go with the whole lot. Of course you can rip it off and start again if you don’t like the position of it, but I suspect this reduces the stickiness of the contact and the next step is all about stickiness so it is worth bearing that in mind.
Speaking of stickiness, make sure you go around all of the edges pressing the contact onto the fabric. You want to be sure that there are no gaps or bubbles for the paint to spread under.
If your design has small details in it, start with the large outside piece and once you are happy with that stick down your small pieces within that larger piece.
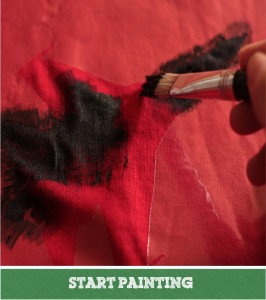
Happy with the position of the stencil? Now it is time for the fun to begin.
Pop a magazine or a folded over newspaper inside the shirt to stop the paint coming through and then crack open your fabric paint and choose your weapon of choice. I have used a paintbrush here but personally I think a sponge yields better results.
The most important thing is to start carefully around the edges brushing/sponging from outside in. This will help to avoid the paint bleeding under the edge. You are aiming for a nice crisp image and paint bleed is definitely your enemy.
After you’ve done the edges, keep brushing/sponging in the middle of the design. Pay attention to the coverage in the fine knit of the shirt. You don’t want to see the colour of the shirt coming through once it is dried.

Satisfied with the coverage? Then rinse off your brush/sponge and leave your paint to dry for about half an hour.
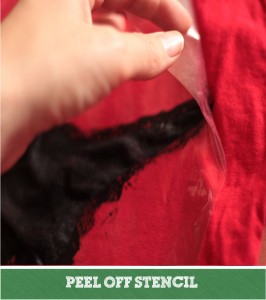
Right, now for the big reveal. Grab one of the corners, take a deep nervous breath and carefully peel back the contact to hopefully reveal a lovely crisp print. If you’ve used smaller pieces within the design you might need the help of tweezers or a long fingernail to pry them off.
Happy with the result? If not, there is always the possibility of a bit of cosmetic enhancement. You could carefully dab a bit more paint on if the coverage is an issue or even use a super fine brush to tidy up any issues on the edge of the design. Just don’t get too carried away!
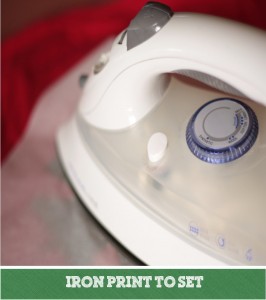
Most fabric paints will need to be set with heat to ensure the print doesn’t come off in the wash. Check the back of the bottle for instructions but generally a few minutes under your iron will do the trick. Err on the side of caution and pop a bit of baking paper on top of your shirt so there is no chance of paint getting on the iron.
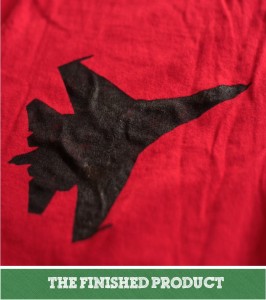
TA DA!! One totally original t-shirt for the little person in your life.
Alright so perhaps mine wasn’t totally dry when I took the photo. And the coverage is pretty lame too but this is what happens when you try to cram a tutorial into nap time. Still, you get the idea!!
Now grab yourself a cup of tea and sit back and bask in your creativity. The sky is the limit with what you can print using this method. Perhaps a special birthday shirt? Or their favourite animal?
I’d love to see what you can come up with.
Xx
Mrs Mini Mayhem
———————————————–
Thank you so much Mini Mayhem for a fantastic tutorial, one that I can see us all getting carried away with printing our own fabric and tees.
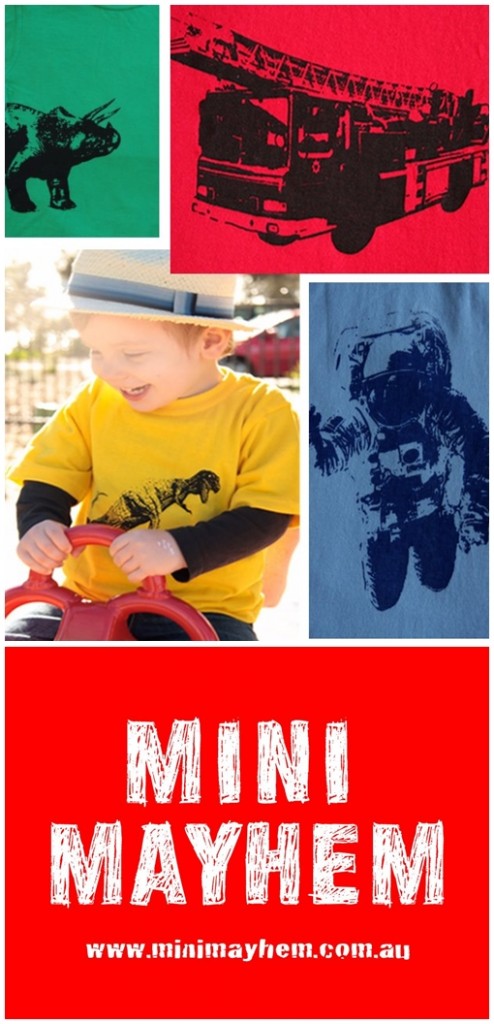
Mini Mayhem designs feature all the things that the little boy people we know love the best “ diggers, spacemen and dinosaurs.
Mini Mayhem personally hand print each design onto a 100% cotton t-shirts using eco-friendly inks.
The result is a t-shirt that is sure to be loved by your little mischief maker.
Mini Mayhem is a small family business. Mrs Mini Mayhem studied visual arts before selling her soul for an office job. Now at home with the offspring she started Mini Mayhem to keep her sane(-ish). Mr Mini Mayhem is the poor schmo who has to go to a real job to make sure we don’t starve. His role is mainly to lift heavy things and turn a blind eye to all the creative mess. Master Mini Mayhem is our chief designer, dino lover and our excuse to spend money on Lego. Little Miss Mayhem is too young to offer much input but we dream of the day when she is old enough to help out printing shirts.
The Mini Mayhem’s live a lovely life by the bay where the local park has a beach. “Our idea of a great time is kicking back with our little people, hanging out with our friends and just being utterly blissfully happy with life”.
“Oh, and we also make truly awesome t-shirts”!!
www.minimayhem.com.au
www.facebook.com/minimayhemtshirts
www.twitter.com/minimayhemt
www.minimayhemtshirts.blogspot.com
www.pinterest.com/minimayhem