It is wildflower season over here in the Midwest of WA and it is absolutely glorious, probably the best season we have had in many years. I recently came back from up north with the kids, and the everlastings were in gorgeous fields, I regret not stopping for some photos. But you know how it is, 2 kids on your own, 5 hr journey and it is break the land speed record to get home before you go crazy.
So this weekend or next I am determined to go on a picnic and take some pictures somewhere.
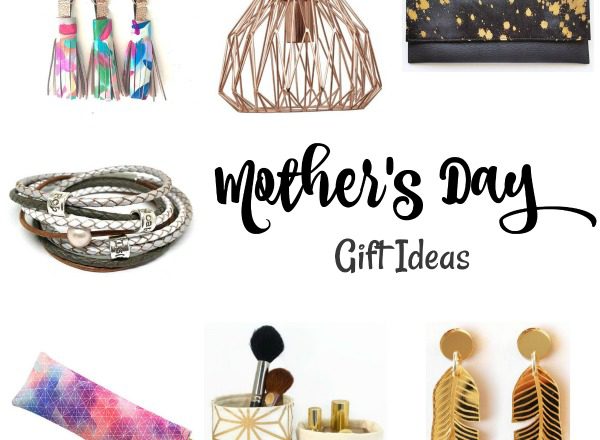
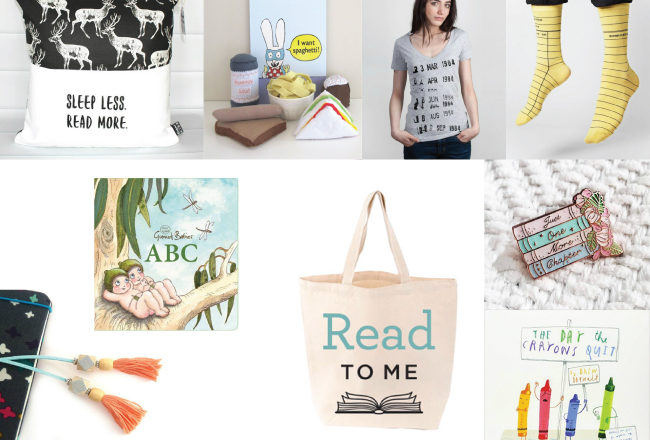
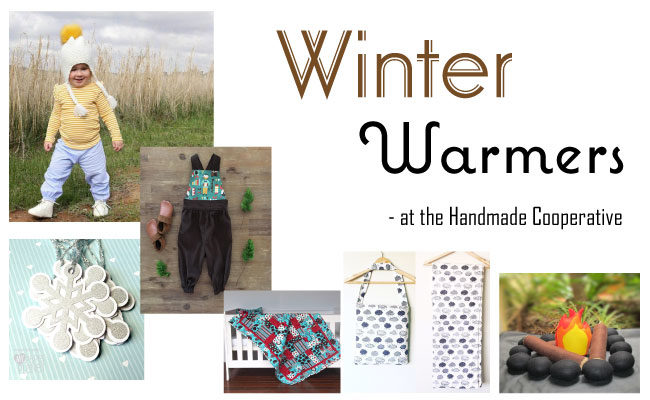
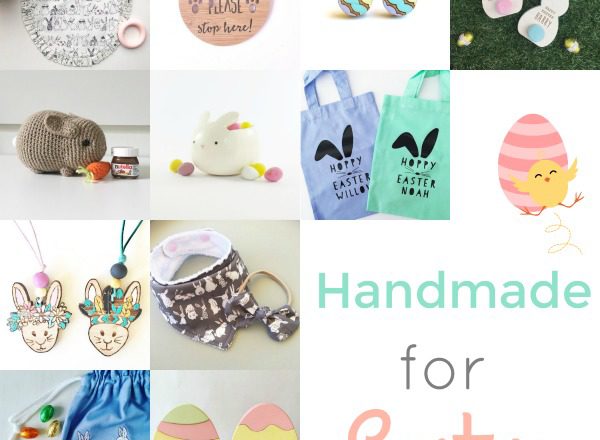
I thought today I would go on the search of some gorgeous flower items.
Perth Upmarket are excited to announce that we will be running a Junior Upmarket just
before Christmas. I don’t know about you, but as a West Aussie I am excited, it is fabulous to see great events focused at handcrafting in WA.
Junior Upmarket will showcase “original designs for kids.” Perth Upmarket have been overrun with retailers with child related products and we are pulling together Perth’s Premier Children’s designers for this special pre-Christmas event.
Customers can expect stylish handcrafted wares created by local designers for children. Hosted at the beautiful University of Western Australia (UWA) Winthrop Hall Undercroft just 5 minutes from the city. It has easy access at ground level, free entry and plenty of free parking.
You can find all the information about
becoming a retailer HERE
We have had a bit of a new look over here at Handmade Kids and isn’t it lovely? A huge thank you to Emma from Morris Bear Designs who helped me, it is fabulous!
I really want to play with it lots, but have been at Caz’s place for arvo drinks, so probably not the best idea 🙂
I hope our new look gives you even more reasons to drop on by now!
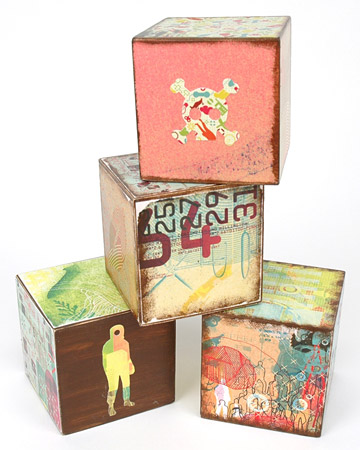
I love wooden blocks, a long running favourite for babies of all ages. Today I happened to be on the Martha Stewart Website and came across this great tutorial to create decorative wooden baby blocks to decorate your nursery or playroom.
I would not recommend these for babies to actually play with or chew on due to the paints & glues used in this crafty tutorial.
Tools and Materials
3 1/4-inch square wood block
Sandpaper
Scissors
Acrylic paint
Mod Podge
Paintbrush
Decorative paper
Emery board
Letters, numbers, and embellishments
Sponge
Baby Wooden Blocks How To
1. Sand the wooden block with sandpaper to prepare it for painting.
2. Paint the block with the color you’ve selected. Allow to dry.
3. Cut 6 pieces of decorative paper to 3 1/4 inch.
4. Glue the paper to each side of the block using all-purpose Mod Podge. Allow the glue to dry.
5. Sand edges and corners of paper with an emery board.
6. Paste the letters, numbers, and embellishments to the block using the same technique.
7. Sponge the edges of the paper with paint to give it texture and an antique look.
8. Paint another coat of Mod Podge all over the block to seal. Allow to dry.
PLEASE NOTE: This tutorial has not been created by Handmade Kids but has been sourced from the beautiful Martha Stewart Website