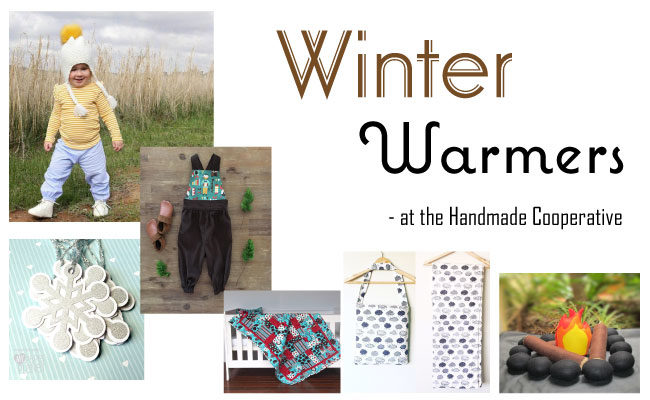
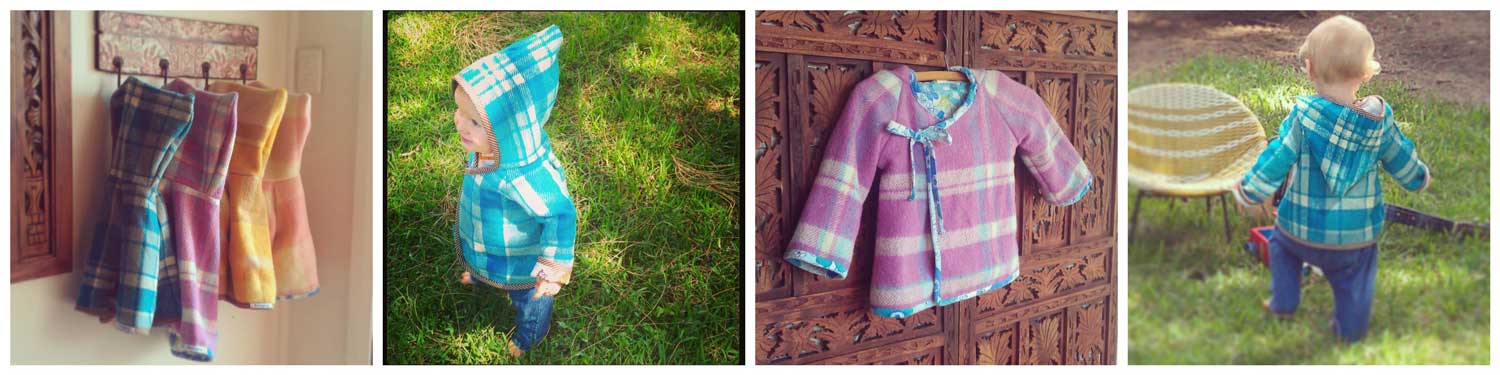
These little jackets are just perfect for winter which is slowly sneaking up on us.
Upcycled and handmade, these gorgeous wool jackets are all lined with quality vintage fabrics. Lovingly designed and created by Summaskye. Available in a wonderful range of colour and fabric combinations.
Jackets are $55 AUD each and are available to order in Sizes 1 to 6. Orders can be made via the Summaskye Facebook page.
Summaskye item’s are lovingly handmade on the sunny Central Coast of NSW. Each item is made from quality vintage and retro fabrics.
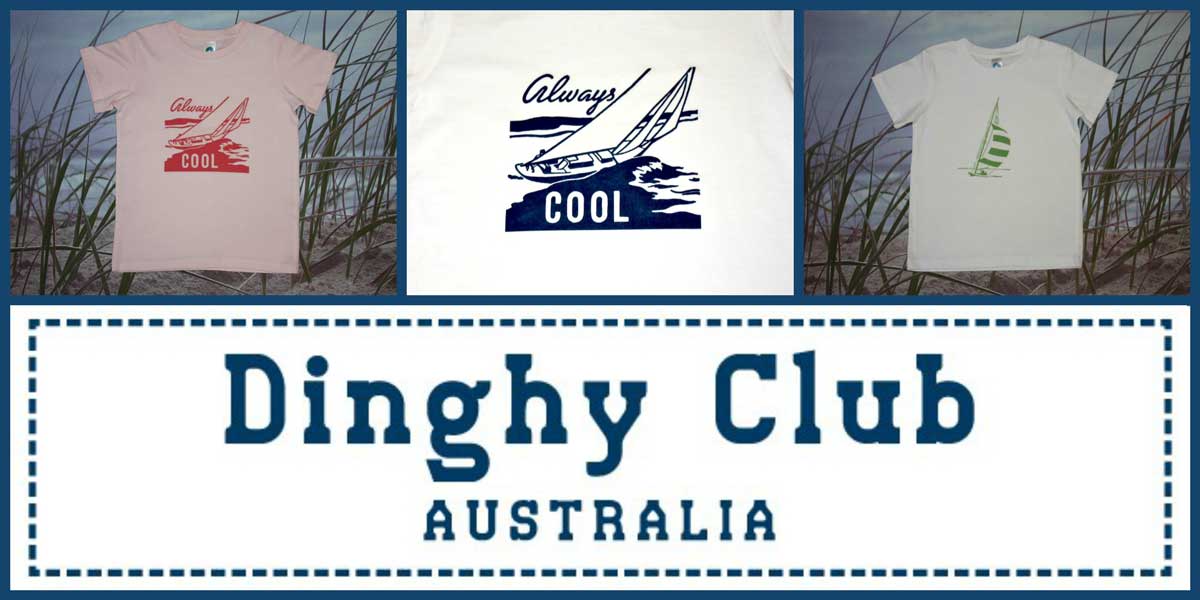
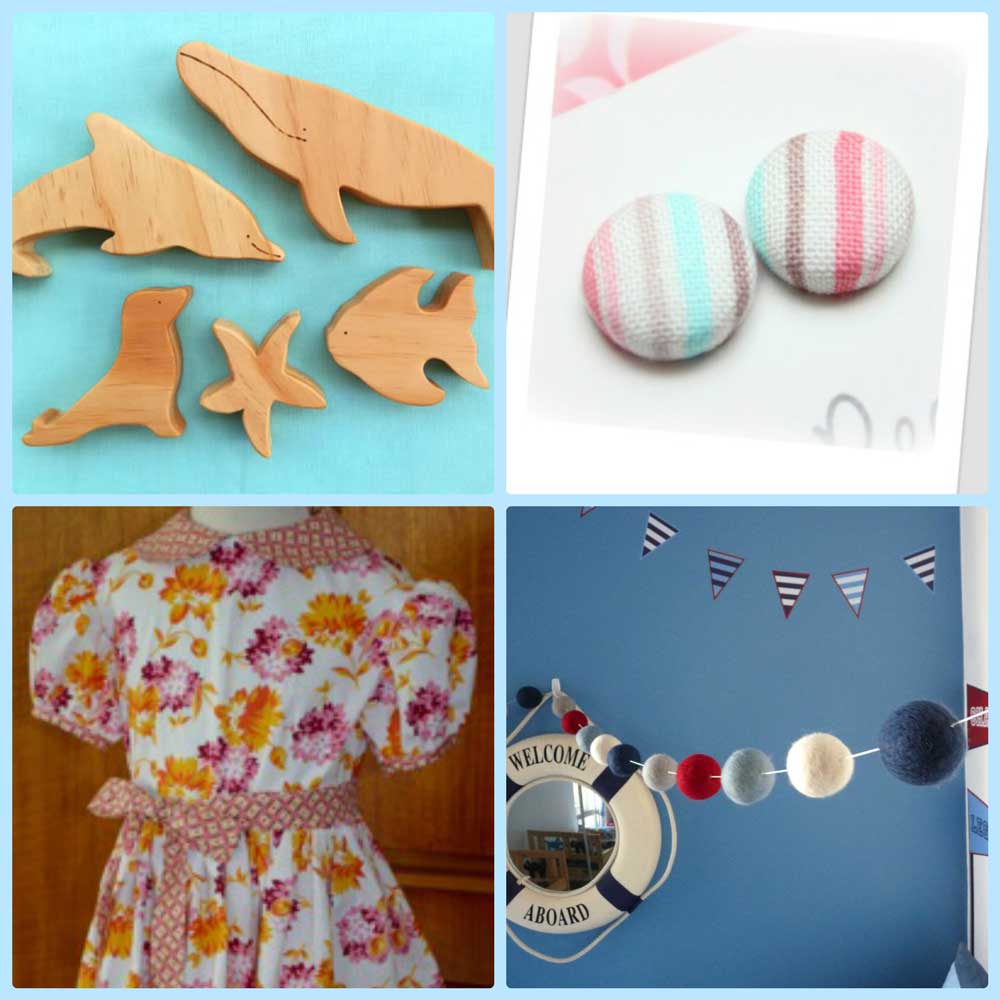
Today we meet Jess from the wonderful new business Dinghy Club ~
Tell us about your business:
Dinghy Club is a Nautical inspired Childrens wear business.
What inspired you to start your business?
After owning my own shop and markets I decided I wanted a slower pace. I noticed there was a gap in the market for Nautical clothing and as we are a sailing family I am always on the hunt for Nautical designs for my son and that is how Dinghy Club started.
What is the most satisfying part of what you do?
Peoples feedback on the products and also seeing an idea that I have had become reality.
Have you tried something in business that didnt work as planned, or on the flip side “ worked out better than expected?
I have tried many things that have and have not worked but each one has been an amazing lesson that has brought me a better understanding of business.
What would be your best tip for someone thinking about selling their handcrafted goods?
To just enjoy it, it takes time and dont get disheartened. Try not to compare your new business to others out there that have been doing it for years your time will come it just takes time, hard work and passion.
What is your favourite item you make?
Making the t shirts, its a new skill I have taught myself and its been a struggle to understand this new technique but I am slowly getting there.
Any personal or business highlights in the last year:
Launching Dinghy Club I didn’t know if I could do it or not.
3 things about you that people might not know:
I was a travel agent for 12 years
That I would love to live off the grid in the country somewhere and be self sufficient (must be a hippie inside of me LOL)
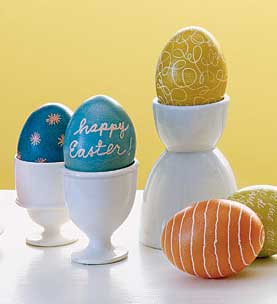
When I was young, we spent a day dyeing hard-boiled eggs bright colours, leaving a pile of the vivid orbs in a bowl to be eaten at any time. Wed stake out our favourite egg and on Easter Sunday brandish the tip towards an opposing egg, cracking the enemy’s tip with satisfaction. The last egg to crack was proclaimed the Easter champion and eaten with gusto!
Our eggs were always imperfect specimens, but Martha Stewart has some handy tips to ensure that your day of dyeing is successful. She even gives drying tips to avoid the dreaded blotches.
Martha Stewart Egg Dyeing 101
Steps:
Protect your work area with paper towels or newspaper.
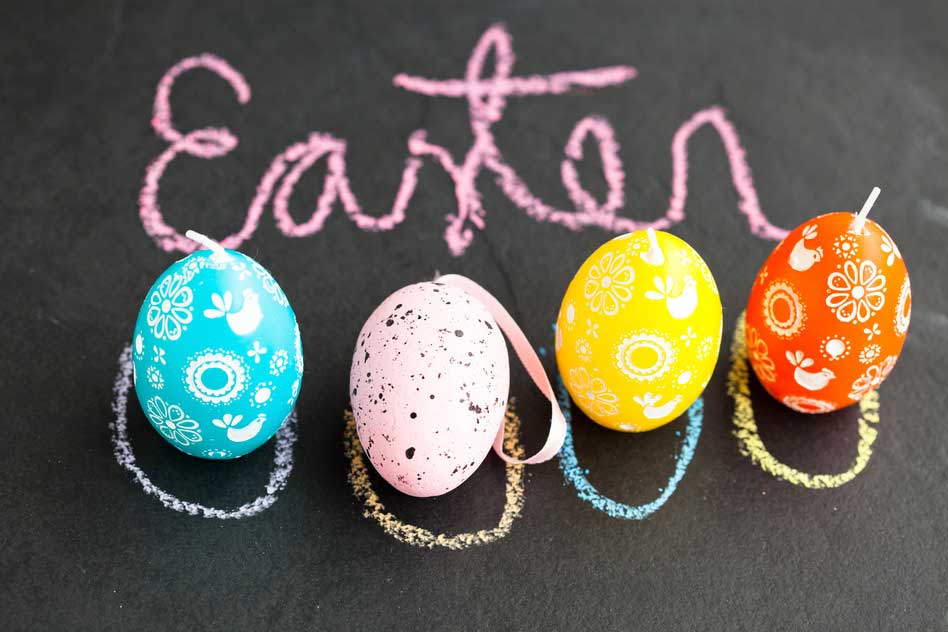
Mix 1 teaspoon of vinegar and 20 drops of food colouring (use more to intensify colour) in 1 cup of hot water in a heatproof bowl, cup, or jar deep enough to let you submerge an egg completely.
To create different tints of a colour, vary dipping times: Submerge eggs for less than 5 minutes for light colours, and leave the egg in for 10 minutes or more for deeper shades.
Using tongs makes handling the eggs easy.
To make a two-colour egg, dye the whole egg first in a light colour, let dry for 15 minutes, and then submerge half into a darker colour.
So gather the children and bring back a dying art. Its fun when you know how to avoid the pitfalls and if they fill up on real eggs, they may not want to eat so many chocolate ones!
Guest Post written by Karina Reyne, past co-partner of Handmade Emporium, the hip handmade online market.
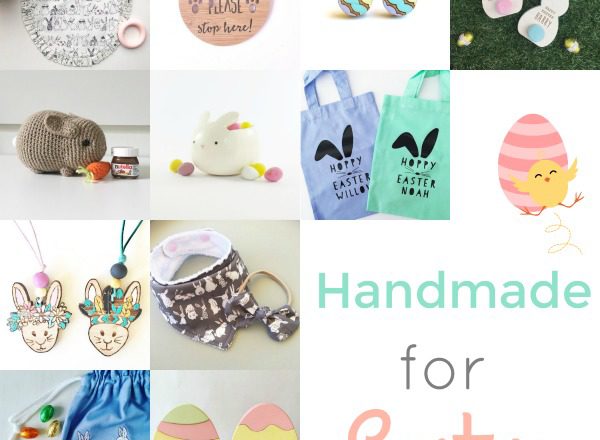
Its not long now until the Easter Bunny is upon us, and this means holidays for most kids. Keeping everyone entertained over the Easter break can be a challenge, not to mention exhausting work for parents! Here are 4 great Easter craft ideas which will keep your kids constructively entertained for hours on end.
Unique Easter Eggs
The age old conundrum of what came first, chicken or the egg, tends to get a good airing at Easter. This fun craft activity tips everything on its head by making chickens out of eggs! You will need blown eggs as the body of the chickens, so try and pick a range of natural eggshell colours, from white to tan brown and a few in between. Now you will need to cut some triangles out of orange felt as the beaks, and some little feet shapes as well (2 per egg).
Use some strong adhesive to stick the beak on the egg, and the feet underneath so the egg sits on top of them. The next step is to cut some red felt in the shape of a chickens comb (the red part on top of their heads). Stick this to the top of the egg, draw on two little eyes and you have some adorable chickens that your kids will love to make.
Easter Bunny Masks
You can make a range of beautiful masks with very little expense. A good place to start is to use plain white paper plates as the face, and simply cut out the eye holes. Use some pink cardboard to make a nose and the pink inner-ear, and white cardboard for the main ear section. You can use fabric if you have some on hand for a cute floppy-eared rabbit look.
Draw on the mouth, stick on some chenille sticks or white straws as whiskers, and attach an elastic strap to hold it securely in place for when the kids are running around wearing it. The kids will love this fun and simple craft activity, especially when they can decorate their mask however they like!
Making Your Own Shirts
Your kids will love the chance to create their own customised t-shirts, and thanks to the ease of online printing, you can have store quality shirts ready in time for Easter. Simply upload their drawings or designs and pick the colour and style of the shirt for printing. Thats truly how easy it is to make your own t-shirt! The older kids can create some seriously impressive graphic designs using a free program such as Inkscape, keeping them occupied for hours on end.
Easter Mini Pi±ata
Many families make blown eggs for Easter, but this cute little trick takes it one step further. Once youve blown the eggs, make the hole at the top slightly larger and fill the egg with mini M&Ms. Get the kids to create a range of bright little stickers to put on the egg, and use one of the stickers to cover the hole at the top. Slip the finished egg into a pretty gauze bag, and your kids can give their friends a very special hand-made mini-pi±ata as their Easter present!
Keeping the kids busy these holidays will be a breeze with these simple yet fun Easter craft activities. From gift ideas to creating their own shirts, theres hours of entertainment involved in these rewarding activities for all ages.