It’s time to SEW A SOFTIE! And even better it’s time to sew a Christmas softie!
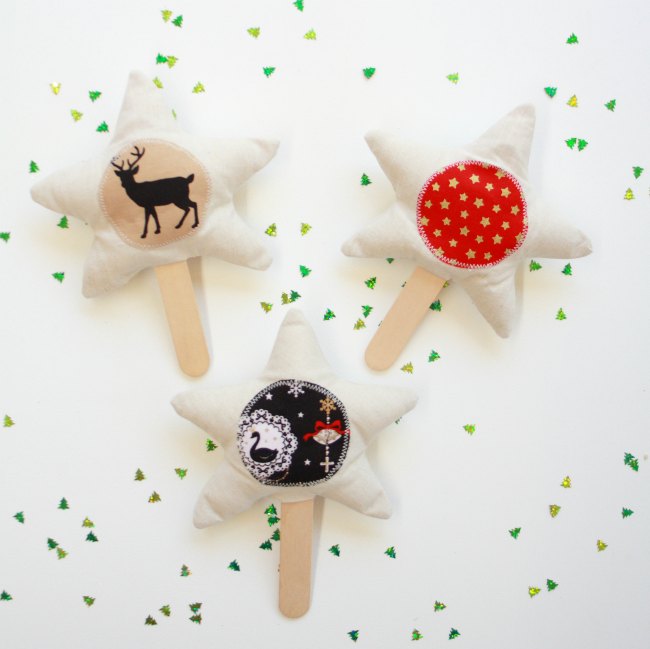
We are very excited again to be part of the wonderful crafty roundup this festive season and can’t wait to share our ‘Christmas Stars on a Stick’ tutorial with you.
Sew a Softie for Christmas (and the festive season) is fun crafty challenge put together by Trixie from Coloured Buttons. Clever crafters, bloggers and creatives from around the world have all joined in to share their favourite Softie Tutorials and DIY’s for Christmas. Softies for all levels sewing and non-sewing folk.

Let’s make a Christmas Star decoration!
Craft Supplies needed:
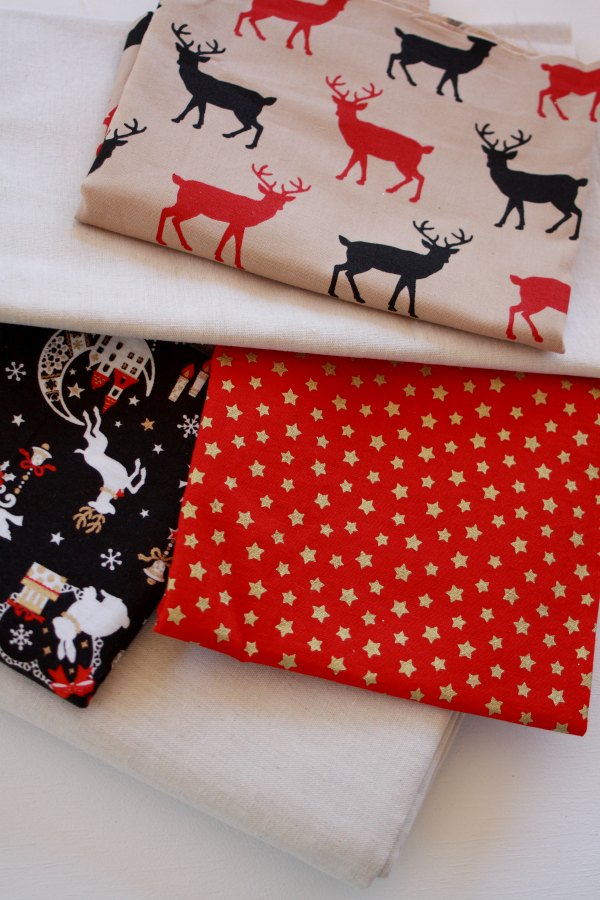
- festive fabric -great way to use up your fabric scraps
- plain or simple fabric for star bodies
- sewing machine (or you can hand sew too)
- needle and thread
- scissors
- softie fill
- iron
- craft sticks
- hot glue gun (optional)
- Heat N’ Bond or similar (optional)
Let’s make our Christmas Stars:
* Choose your fabrics. We used a neutral coloured linen which we had spare from a previous Christmas project and a few coordinating festive fabrics. This little project is a great way to use up any small fabric scraps you might have in your craft stash.
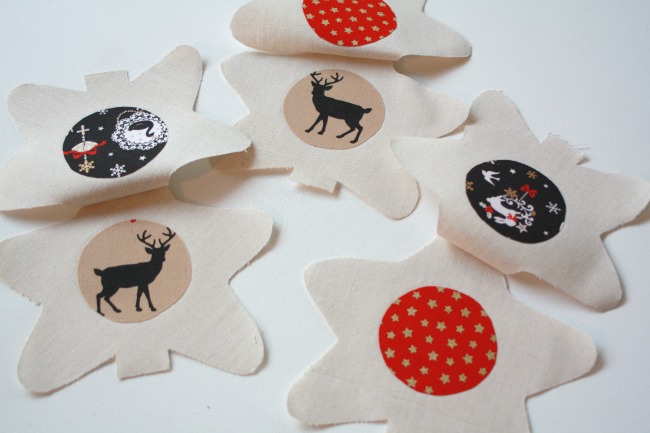
* next we need to trace out our star shapes onto our fabric- each star will need a front and back fabric panel. We used a rounded edged star shape that we already had laying around our (messy) craft room.
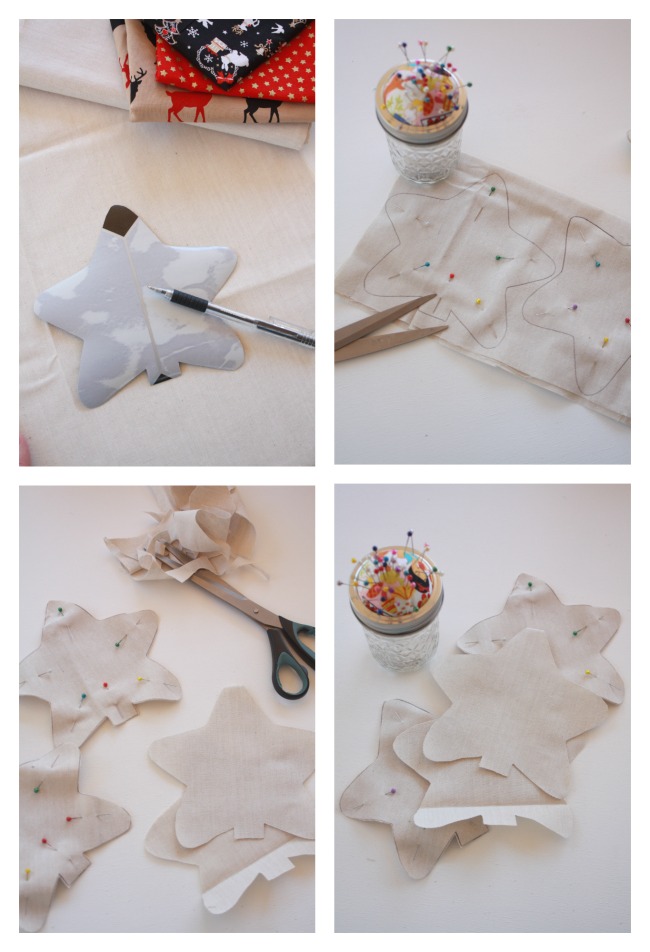
* if you double over your fabric whilst you are drawing your star shape it will make it so much easier – you can then cut the two stars out at the same time. Pin them in place together.
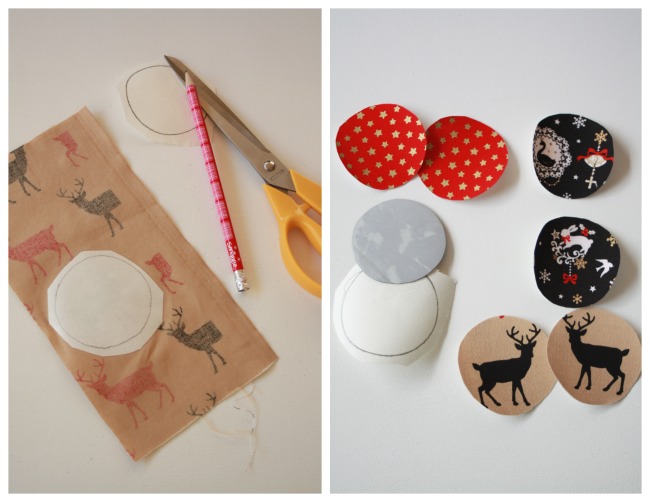
* prepare your Christmas fabric applique shapes. We did a little festival circle in the middle of each of our stars. To help keep the applique in place, even before sewing, we used Heat N Seal to draw and create our circles – then ironed them onto our star panels. You can pick up Heat N Seal or similar products from places like Spotlight or Lincraft.
* Optional – feel free to sew on your applique shapes too – we used a quick small zigzag stitch you keep them nice and secure.
* pin your star panels together – place the fronts of the panels facing inside together – so the festive shapes are facing each other. Pin around the outside each of your stars and start sewing! Would you like to machine sew or hand-sew? We used a machine straight stitch- leaving about a 1/2cm edge. Leave a gap at the bottom edge of your star so you can turn your fabric back out the right way and stuff it with softie filling.
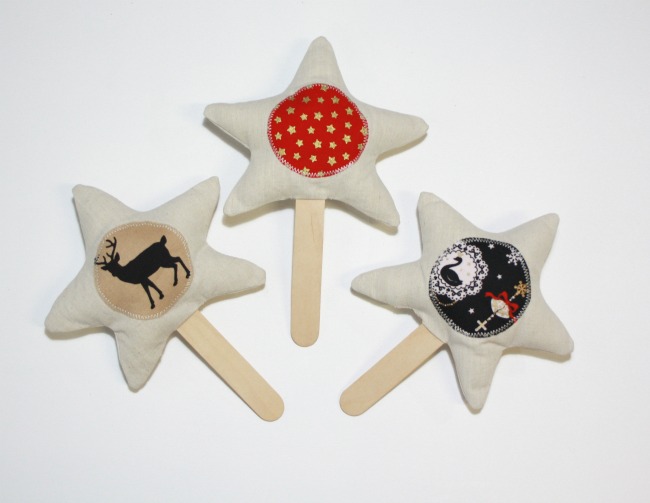
* Once you have stuffed your softie and pushed filling into all the corners; we like to use a wooden chopstick- it’s great for getting right into the corners safely, now you can attach your stick!
* We used our trusty hot-glue gun to attach our craft sticks. Just pop a blob on the end of the stick and very carefully push the stick into the bottom opening of the star fabric and hold in place for a few seconds. The glue dries pretty quickly. If you find you have a little gap between the star fabric and your stick just pop in a few blind hand-stitches (you won’t even be able to tell they are there).
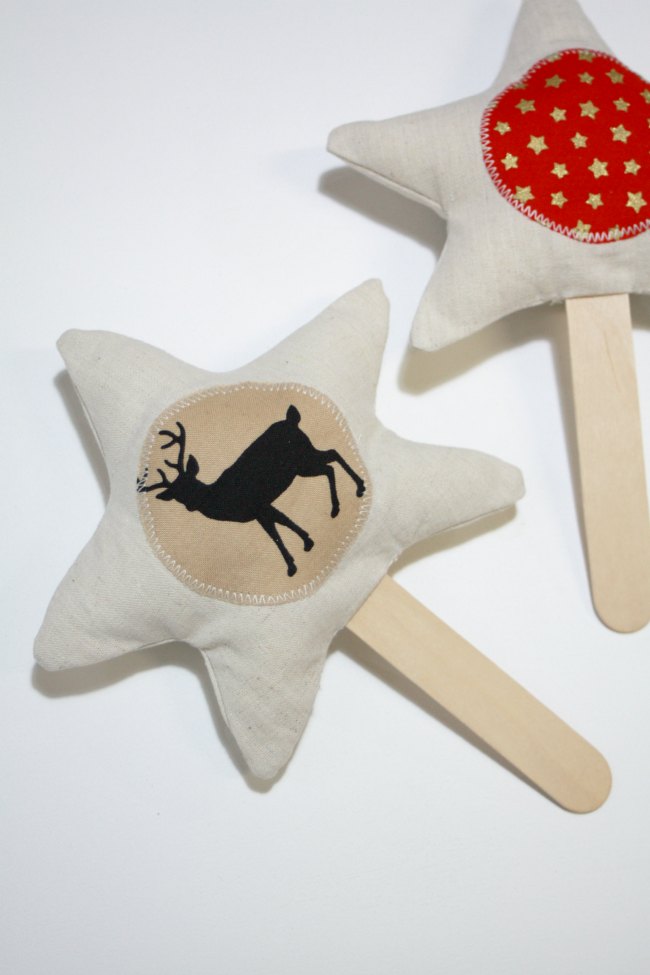
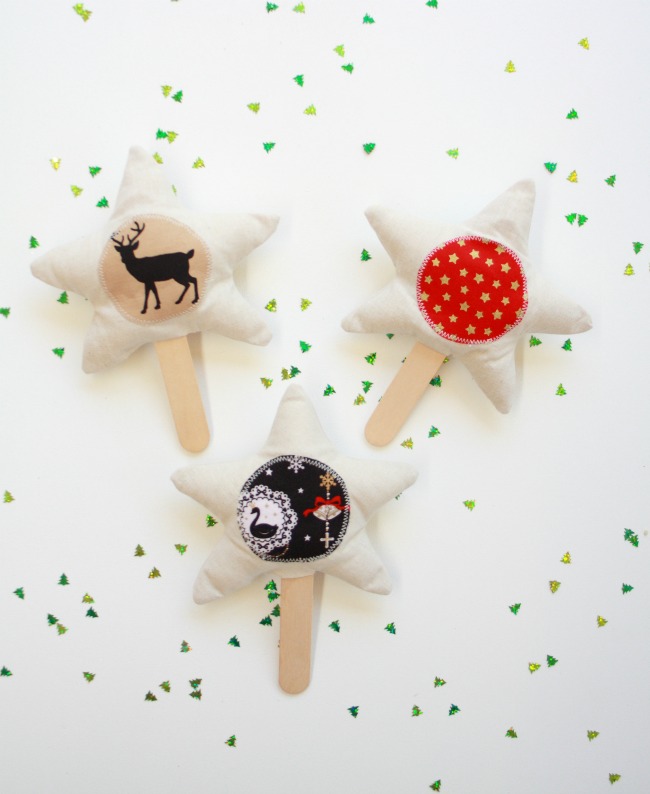
Done! What do you think? We love our little Star on a Stick – how did yours turn out, what fabrics did you use?
Want to try something a little different – why not pop in a baby safe rattle bell instead and sew the star up extra nice and safe and make a little Baby Star Rattle for a special little one this Christmas.
BLOG HOP – 2017 SEW A CHRISTMAS SOFTIE
I love your stars on a stick Kylie. What clever and creative idea. Your tutorial is really clear and easy to follow too. Thanks again for joining into Sew a Softie. Hope you want to join us again in July 🙂