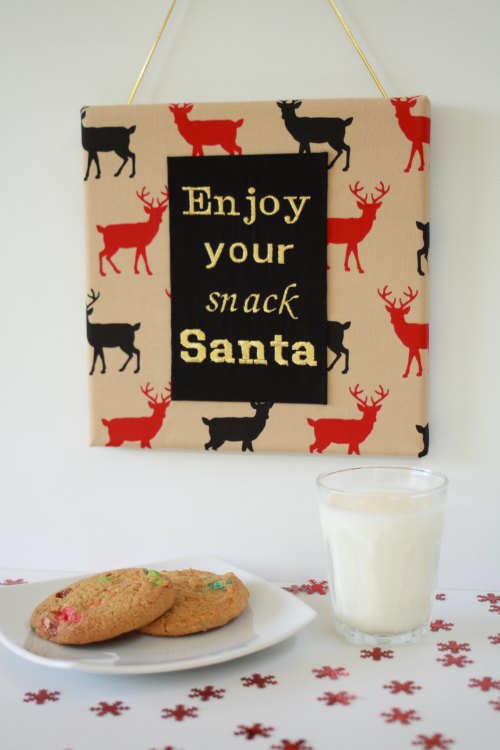
Do you have a little tradition for your Santa Snacks? Do you leave a little treat out each Christmas Eve for Santa and his reindeers?
We usually leave out a little thank you note to Santa with a cookie and glass of milk and a handful of grass for the reindeers. This year we thought it would be nice to create a little banner that we could hang over his snack and make this our new little tradition.
What do you think? Keep reading below for all the instructions on how to make your own ‘Santa Snack Sign’.
Tools Required:
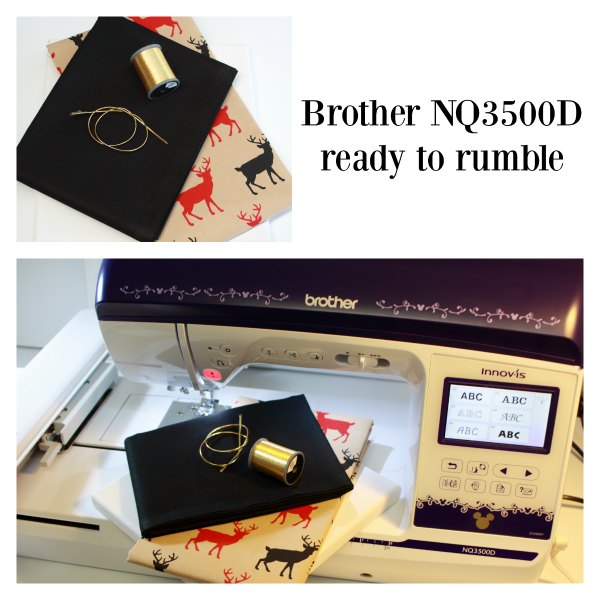
- Brother Embroidery & Sewing Machine
- Scissors or roller cutter
- Cutting mat, ruler, pins
- Iron
- Craft staple gun and staples
- Craft canvas frame
- Optional- masking or electrical tape
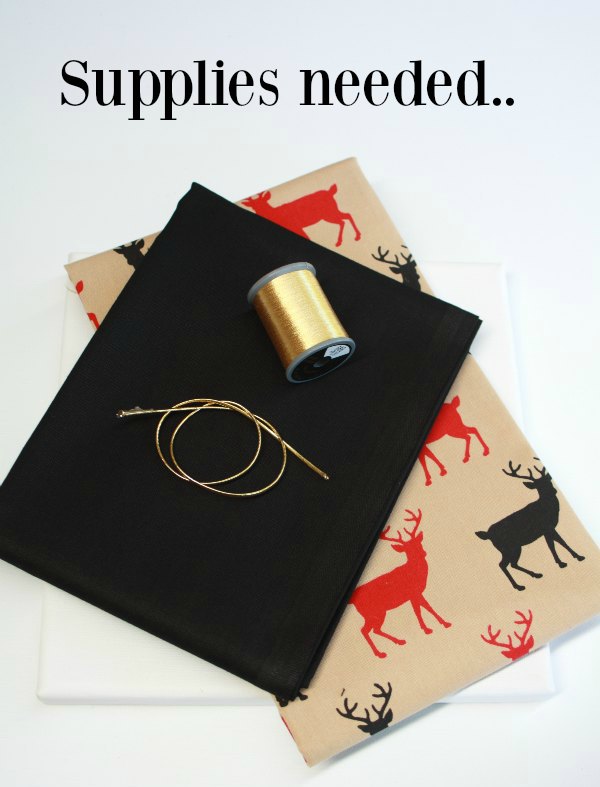
Supplies needed:
- Christmas fabric – for background
- Plain fabric for embroidery font area
- Gold embroidery thread
- Black sewing thread
- Thin elastic, cord or twine to hang canvas
- Suitable interfacing/stabiliser to match your fabric choice
Directions:
– Background fabric
- Measure your canvas- we used a 20cm squared canvas.
- Measure and cut your background fabric with enough extra length to wrap around the back of the canvas, allowing a small amount to make a neat seam edge. We cut a 30cm square.
- Iron your fabric flat and put aside.
– Embroidered fabric
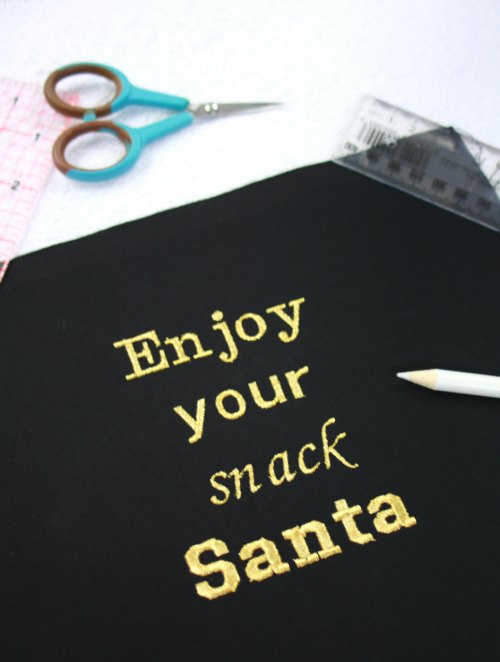
- Decide what wording you would like to embroider.
- Once you have worked out how many words you would like to use you can figure out the size of your font so that it will sit nicely in the middle of your canvas – allowing enough festive background fabric to show.
- We roughly created a 10cm x 10cm embroidered font area.
- Why not use some scrap fabric first and have a practise run till you decide on the perfect size and fonts for your project.
- Follow your machine instructions and attach stabiliser to the back of your fabric, attach to your embroidery arm and away you go.
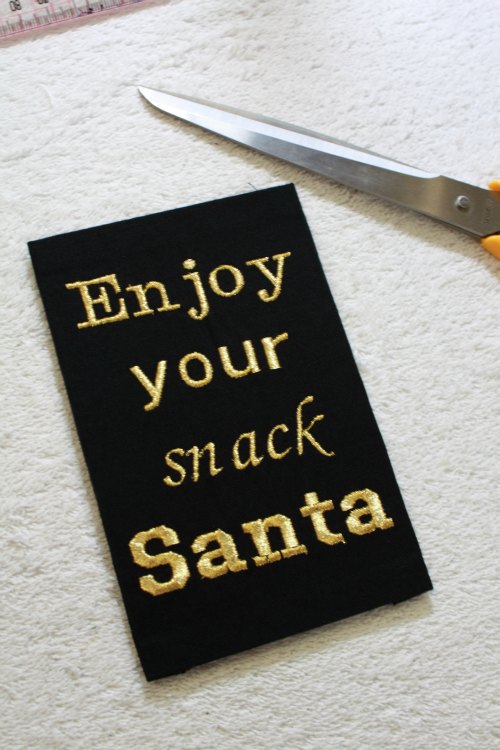
- Iron flat your embroidered fabric. Turn over edges and iron to create a neat straight seam edge.
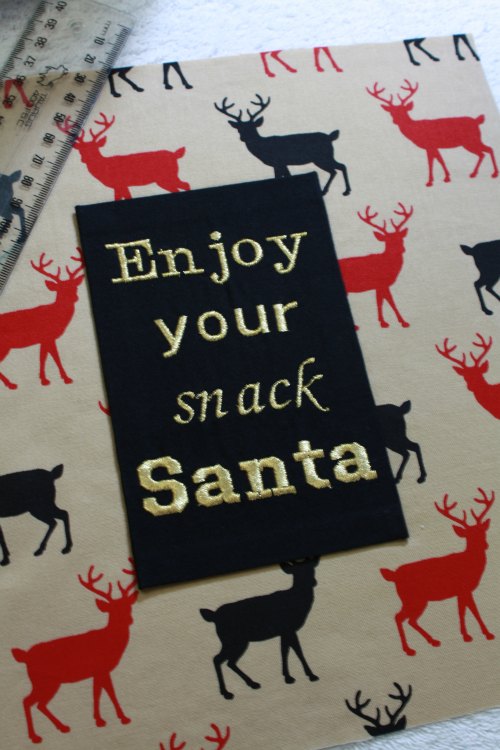
- Mark out the centre of your background fabric piece and pin your embroidered fabric section to the centre of the fabric – with both fabric fronts facing up.
- Now sew together your two fabric pieces using a straight stitch close to the edge of the top embroidered fabric piece.
- Again iron flat your fabric pieces before attaching to the canvas.
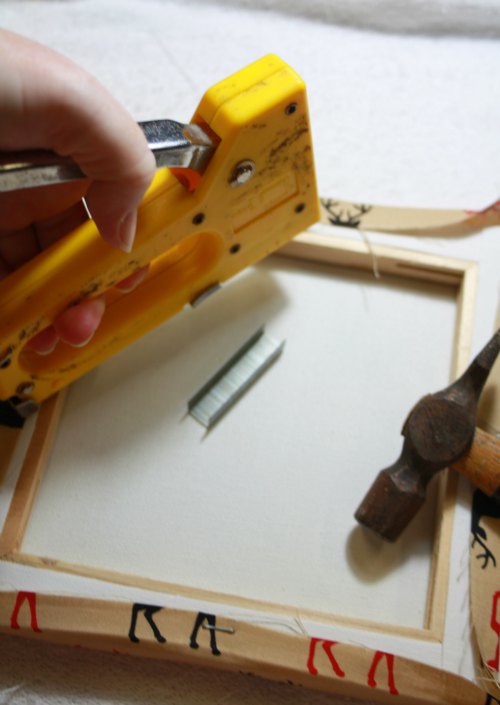
– Attach to Canvas
- Lay your fabric on top of canvas so that your font is positioned in the spot you would like it.
- Holding in place, carefully turn over canvas and fabric.
- Fold over fabric edges to create a neat edge and using the craft staple gun, staple fabric in place.
- Staple around all edges whilst pulling fabric taut, making sure no creases appear on the front.
- Turnover and admire your handy work!
- Using two final staples attach your cord, twine or elastic to the top back corners of your canvas to create a loop to hang your creation.
- As a final step you could lay tape over these stapled edges if you like- as Christmas items are packed away for such a lengthy period each year.
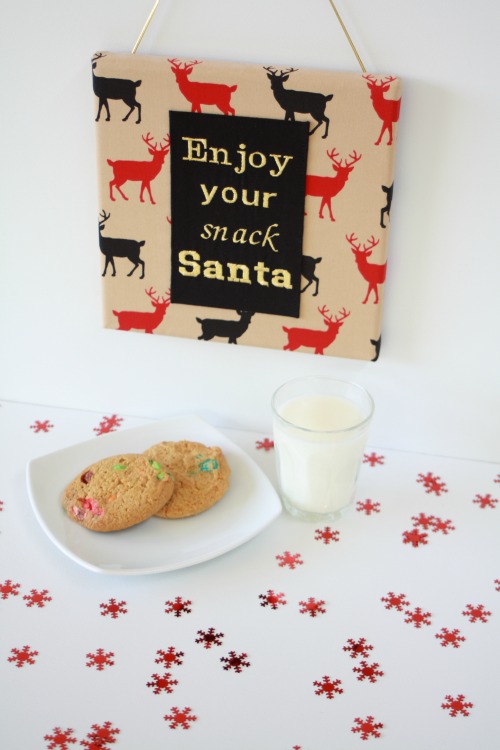
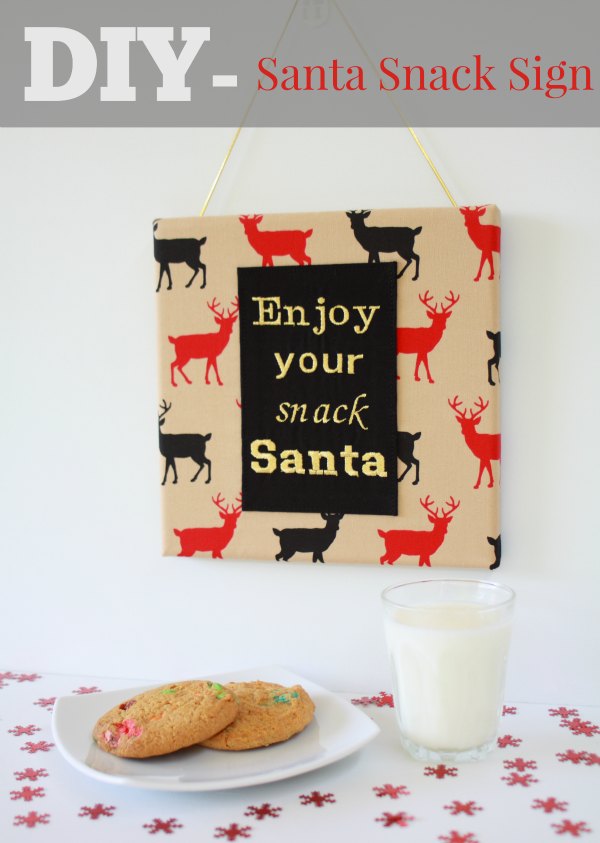
Congratulations your Santa Snack Sign is finished and ready to hang. Enjoy your Snack Santa!
We are very excited to have our tutorial featured in Brother Australia’s – ‘Brother Inspires Christmas Countdown’. Keep an eye on the Brother Facebook page for the Countdown as exciting Christmas projects are released each day over early November.
Visit Brother’s Facebook Page – HERE
Visit the Brother Projects Page – HERE