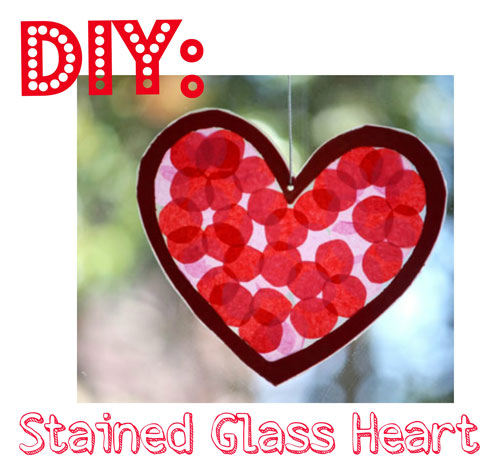
Today we have a great crafty guest post from Joe a heat press connoisseur from heatpressreview.com
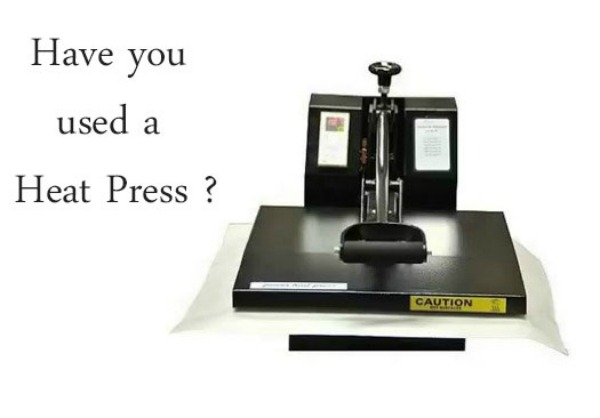
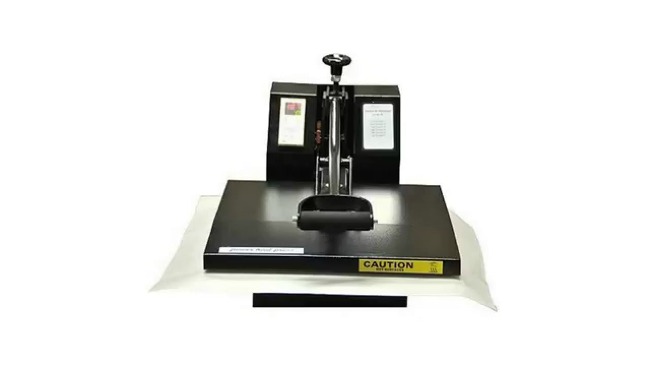
A heat press is a great investment for crafty moms and dads, especially if you love to give homemade gifts. But these projects can be even more fun if you let the kids join in.
Today, I’m going to show you how to make three cute and easy heat press projects with the kids. These are crafts that kids will use and enjoy, and make for a great rainy day activity.
1. Family Team T-Shirts
I’m willing to bet the first project you made with your heat press was a t-shirt (or maybe one of these neat Santa sacks). T-shirts are the quickest and easiest projects, and you never really tire of them because there are so many design options.
To make this project fun for the kids, consider making family team t-shirts. You can use plain t-shirts or baseball shirts for a fun look.
There are many ways to design your shirts:
• Team/Last Name on the front of the shirt, and First Name and a number on the back.
• Team/Last Name on the front with a number underneath.
Feel free to get as creative as you want with your designs.
Create your design in whichever program you normally use, and print it out on your usual transfer paper. It’s important to make sure that you reverse the lettering or imagery you use before printing or applying in the heat press. Otherwise, the letters and designs will backwards.
If you have a silhouette cutter, consider using that to cut out your design and prevent any extra transfer film from adhering to the shirt.
Once you have your design ready, it’s time to make your t-shirts.
• Open the press, and follow the instructions for your machine for setting up.
• In most cases, you’ll be setting the temperature between 350F and 375F for t-shirts.
• Adjust the pressure as needed. Thicker materials require less pressure.
• Set the timer. For inkjet paper, set the timer for 14-18 seconds. For laser paper, set the timer for 18-25 seconds, and for die cut vinyl lettering, set the timer to 45-60 seconds.
• Place the t-shirt on the press, and place the transfer face down on the shirt.
• Cover the transfer (if needed), and close the press.
• Press start, and wait for the timer to go off.
• Remove the shirt and peel off the transfer paper.
If you’re placing a design on both sides, you’ll need to repeat these steps on the opposite side of the shirt.
Kids will love wearing the family team t-shirts they created with your help.
You can use this technique to create all kinds of apparel – including Halloween costumes.

2. Baseball Caps
Custom baseball caps would make a great accessory for your family team t-shirts, but they also make a fun standalone project. While this project is a little more complicated than a simple t-shirts, it’s fun and a great experience for kids.
For this project, you’ll need:
• A hat (preferably cotton)
• Heat transfer vinyl
• Heat tape
• Thick fabric
• Rubber band (optional)
• Teflon sheet for your heat press
You can purchase premade heat transfer vinyl designs, or you can use a Silhouette to create your own. If you’re making your own, don’t forget to mirror your image.
Please note that this project will only work if you have a Teflon sheet attachment.
• Start by heating up your heat press machine to the appropriate temperature.
• Place your design on the hat wherever you want it to appear.
• Use the heat tape to secure the vinyl to the hat. The tape is crucial here. Because we’re not dealing with flat fabric, the design may move out of place without the tape.
• Take your thick fabric (I recommend a full oven mitt), and fold it over a few times until it’s small enough to fit inside the hat. Because you can’t close the press (it won’t work with an awkwardly-shaped hat), you’ll need to press the hate (wherever the design is) against the top plate. The fabric will protect your hands as you press.
• Hold the hat against the top hot plate for about six seconds. Start at the center of the design, and work your way outward to each edge.
If you’re using flocked HTV, you’ll need to wait until the material is cool before peeling. If you applied the design to the brim of the hat, you’ll need to use a rubber band around it if you want to keep the curved shape.
Once the design is completely cool, peel off the paper and enjoy your new creation.
3. Stuffed Teddy Bear
Yes, you can create a customized teddy bear using your own heat press. Kids will love adding their name or own designs to their stuffed animals.
For this craft, you’ll want to use flock heat transfer material. You can use a vinyl cutter to cut out letters, or purchase a set of pre-cut letters. Of course, you’ll also need a stuffed animal.
• Heat up the press to 320F.
• Set the timer for 15-20 seconds and the pressure to medium.
• Cover the stuffed animal with a non-stick cover sheet, and heat it up under the press. Make sure the head of the animal is outside of the press.
• Add your lettering wherever you please.
• Cover with a non-stick cover sheet.
• Apply heat for 15 seconds.
• Allow the stuffed animal to cool.
• Peel off the transfer paper.
• Re-fluff the animal.
The key most important thing with this project is to make sure that no materials that can melt touch the heat plates. Otherwise, you’ll wind up with one big mess – and one mangled bear.