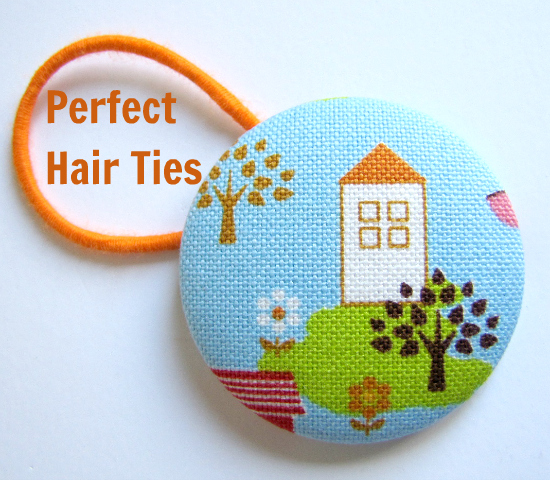

When you visit your local craft markets, you are almost always guaranteed to find at least one stallholder selling handmade hair ties. Most use gorgeous fabrics with packaging to match. The one thing that can let them down is metal shine through the fabric!
If you want to make your own hair ties at home or youre a seller just starting out, let me give you a tip to help you stand out from the pack (and its a very big pack!).
Gather your supplies:
- Fabric,
- button making kits
- hair ties
Directions:
- Cut your fabric circle- it only needs to be needs to be rough, with enough overhang to catch all the way around the edge.
- The next step is the most important one. To reduce metal shine you need to either add a light weight base cloth underneath your top fabric, or do what I do- add a light weight iron on interfacing.
- This backing fabric does two things –
1. Reduces the metal shine & 2. It eliminates the fabric stretching and going a little skew. Sometimes when placing the backing on it can pull and distort the fabric.
- Trim back any excess overhang.
- Make sure your fabric piece is centred before placing the backing on.

- Second most important tip: If you are using metal loop backings make sure they are positioned either vertical or horizontal to your front image. You do not want the loop off on an angle.
- Use tool piece to press down backing and then add your elastic.

Voila! How did you go?
This guest post was brought to you by Jodie Maloni of The Haby Goddess. If you want to find supplies like the ones shown above, head to her online store www.thehabygoddess.com.au
Make Perfect Hair Ties at Handmade Kids.
WANT MORE? Why not try making your own Drawstring backpack?
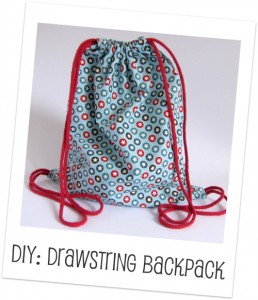
DIY – Make a Drawstring Backpack
How cute and what a great idea! Thanks for the tutorial.
[…] Make! Perfect hair ties – Handmade […]
Hi, where did you get the hair elastic
Hi Elena, the lovely Jodie from The Haby Goddess wrote this Guest Post. However you can find hair elastics at most hair dressers, discount stores and retails stores like Kmart. Most places have the ties without the metals tabs now 🙂
Enjoy your crafting.
[…] Make! Perfect hair ties – Handmade […]
[…] something for a special occasion. These fabric button hair ties are simple and easy to make. Check them out here. (Link: […]